Ultimate Guide to Buoy 10 Salmon Fishing
2026 Season
Introduction:
Every summer, thousands of anglers head to the mouth of the Columbia River for one of the Pacific Northwest’s most exciting salmon fisheries: Buoy 10.
Here, ocean-fresh Chinook and coho salmon enter the Columbia River on their journey upstream. Anglers have the opportunity to intercept these fish throughout the lower estuary using a variety of trolling techniques, including spinners, hoochies, bait and other presentations fished behind flashers.
But success at Buoy 10 is about more than simply putting a lure in the water.
The tide is constantly changing. Current affects your trolling speed, depth and presentation. Salmon move through different parts of the estuary as conditions change. A productive area in the morning may be empty a few hours later.
This guide will help you understand the fundamentals of fishing Buoy 10—from choosing your tackle and building your rig to understanding tides, trolling speed, depth and the major fishing areas of the lower Columbia River.
Whether you’re preparing for your first Buoy 10 trip or looking for ways to fine-tune your approach, the goal is simple: help you spend more time fishing effectively and less time guessing.
Before You Fish: Regulations, open areas, retention limits, bar conditions and marine forecasts can change. Always verify current Oregon and Washington regulations and weather conditions before leaving the dock.
What is Buoy 10?
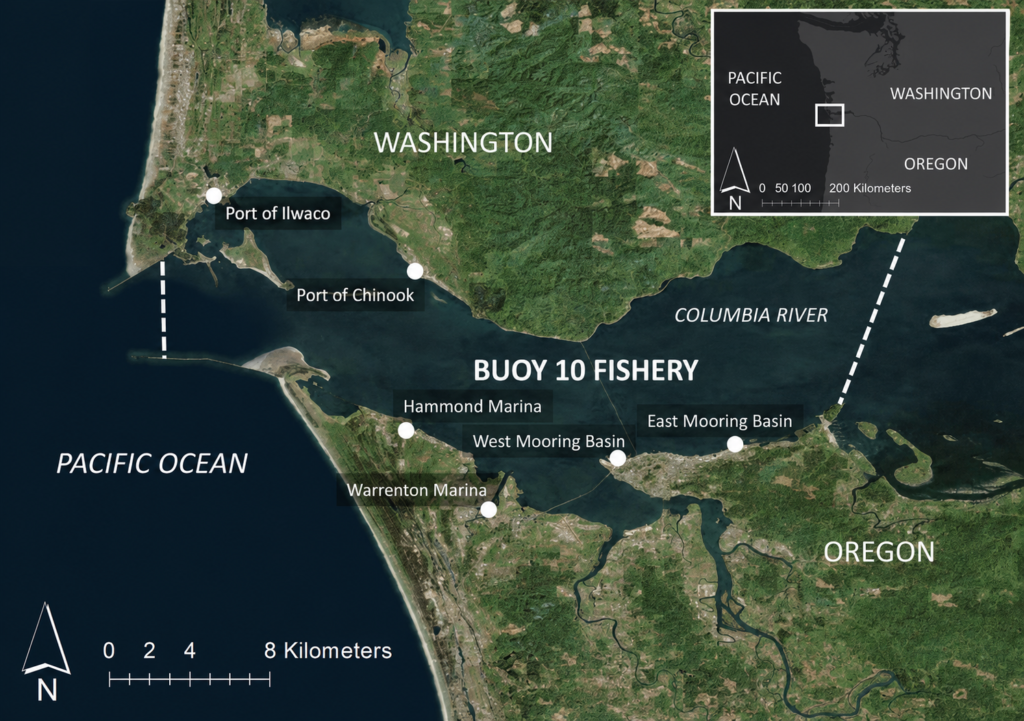
Buoy 10 is both an actual navigational buoy and the name commonly used for the famous salmon fishery at the mouth of the Columbia River.
Located where the Columbia meets the Pacific Ocean, the lower river and estuary create a massive transition zone for salmon returning from the ocean. During the late summer and fall migration, Chinook and coho salmon enter the Columbia and move through the estuary on their journey upstream.
Although the fishery takes its name from Buoy 10 near the mouth of the river, anglers commonly use the term “Buoy 10” to describe a much larger fishing area extending through the lower Columbia River toward Astoria and Tongue Point.
This creates a unique fishery where anglers can follow moving salmon through a variety of locations, depths and tidal conditions.
Why Anglers Love Buoy 10
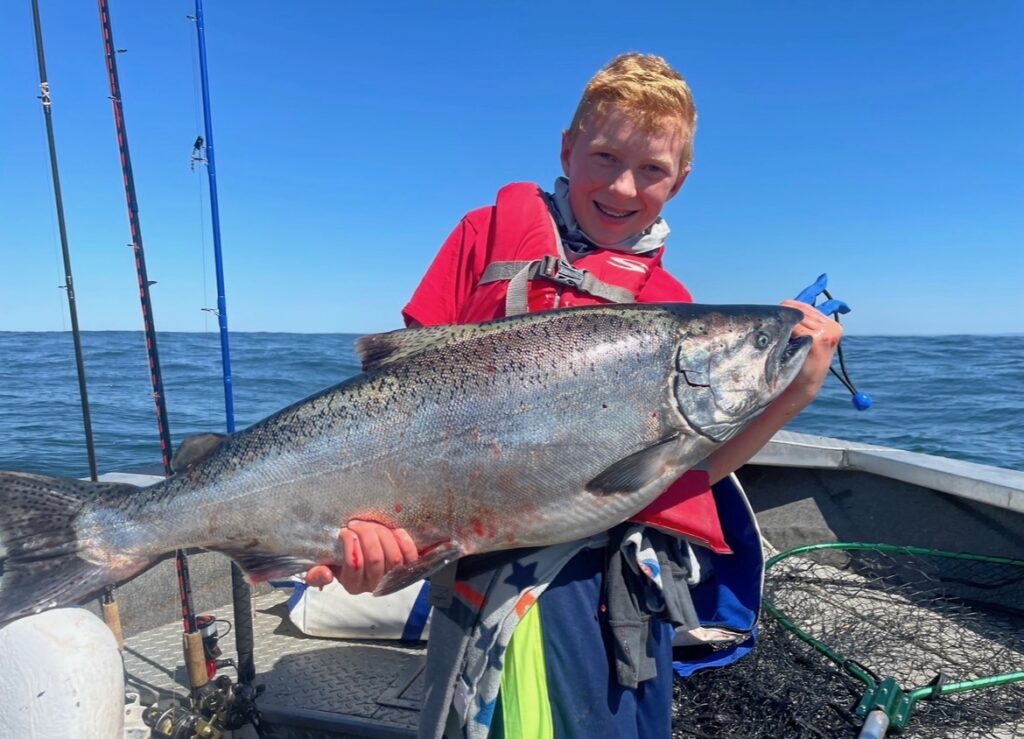
Ocean-Fresh Salmon
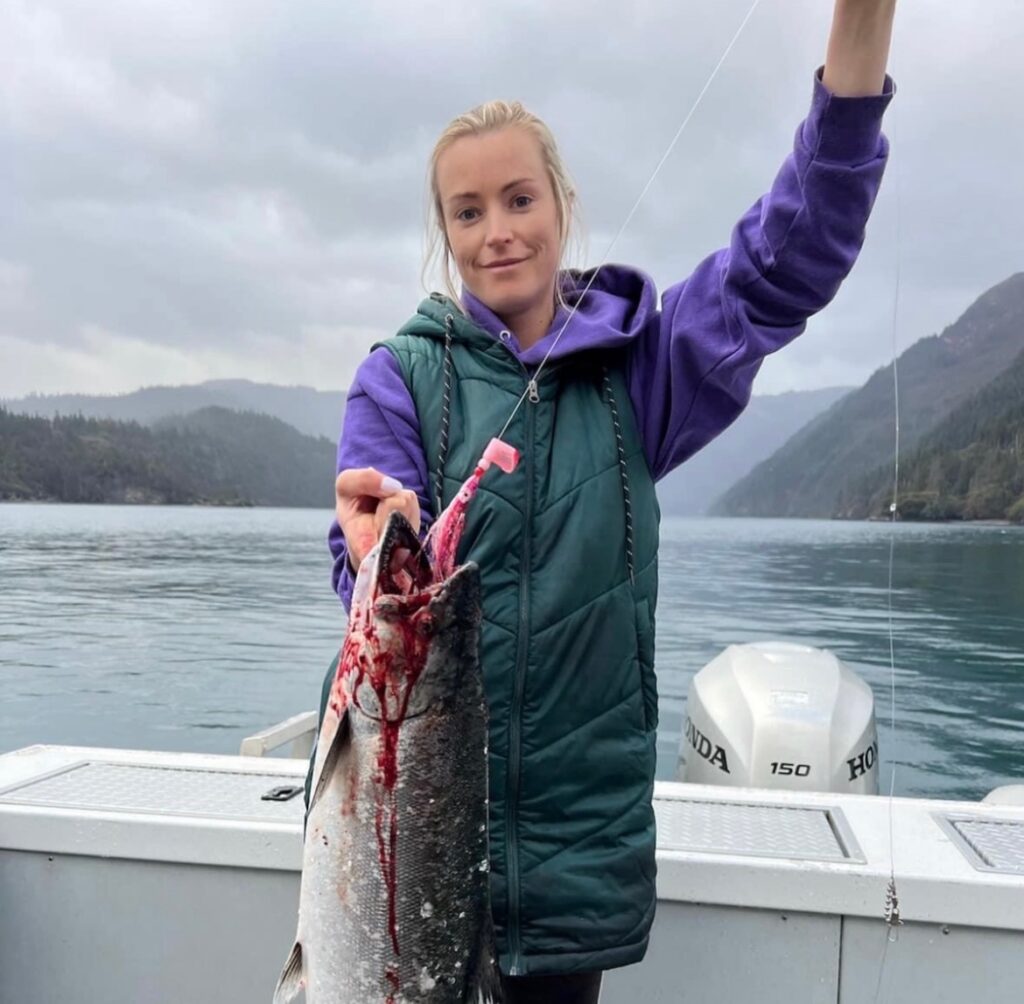
Buoy 10 gives anglers the opportunity to target Chinook and coho shortly after the fish enter the Columbia River from the Pacific Ocean.
These powerful, ocean-fresh salmon—and the opportunity to encounter both Chinook and coho—are a major reason anglers return to the fishery year after year.
A Huge and Dynamic Fishery
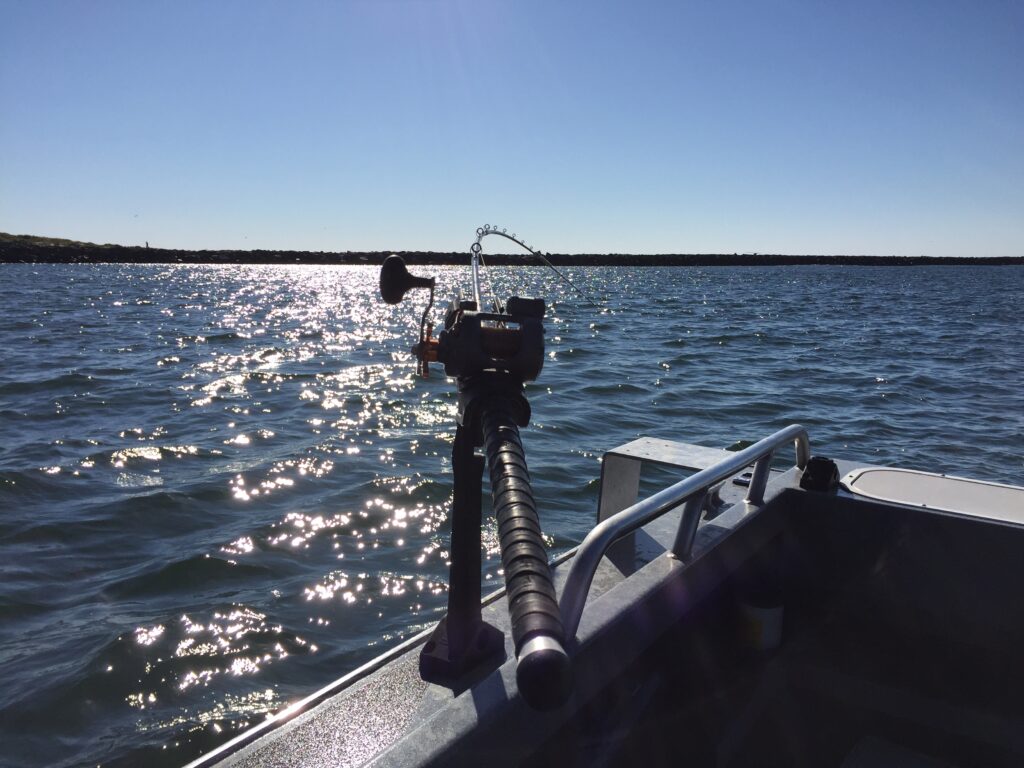
Buoy 10 isn’t a single fishing spot.
The fishery covers a large and constantly changing estuary. Salmon movement can be influenced by the tide, current, water temperature, baitfish and the progression of the run.
Successful anglers learn to adjust rather than simply fishing the same location all day.
Multiple Ways to Catch Fish
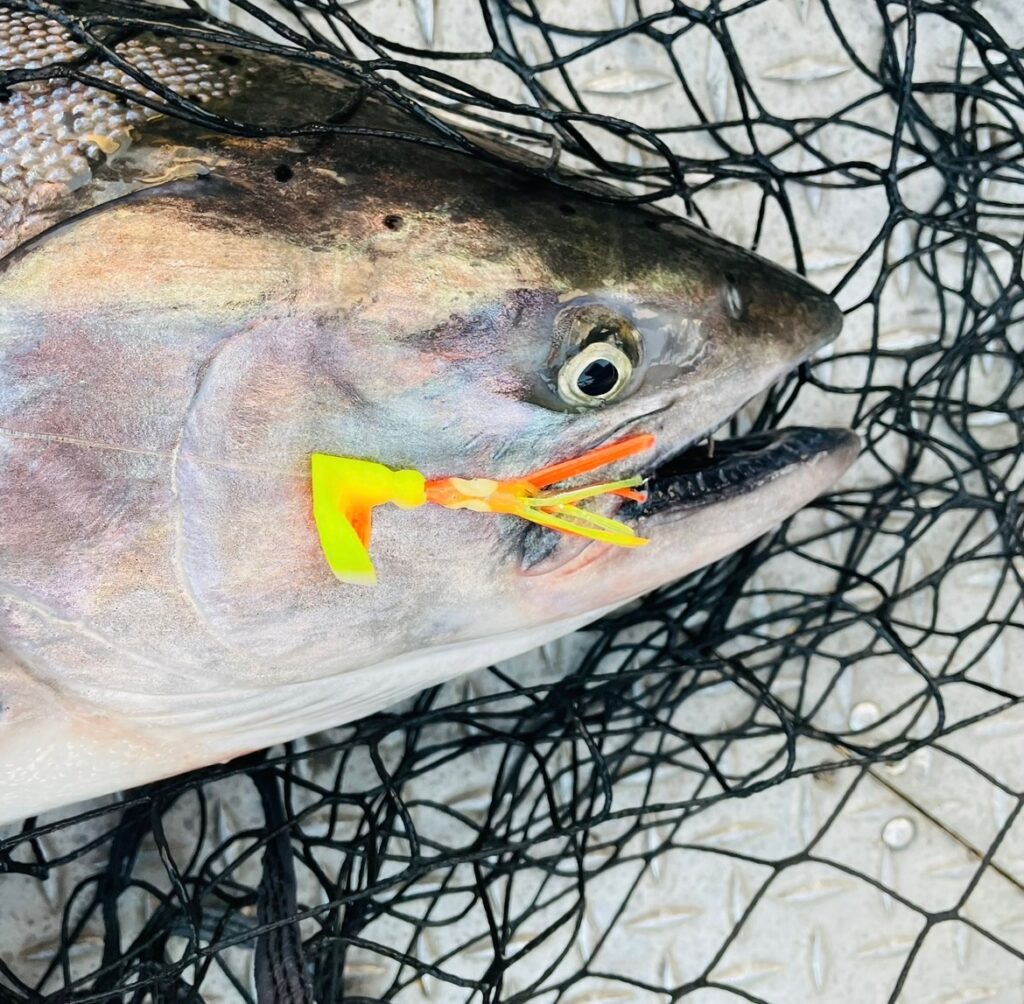
Spinners, hoochies, bait and other trolling presentations can all be effective.
One presentation may produce early in the day while another becomes more effective as the tide, light or water conditions change.
Being prepared to adjust is part of what makes Buoy 10 so challenging—and so rewarding.
An Iconic Pacific Northwest Setting
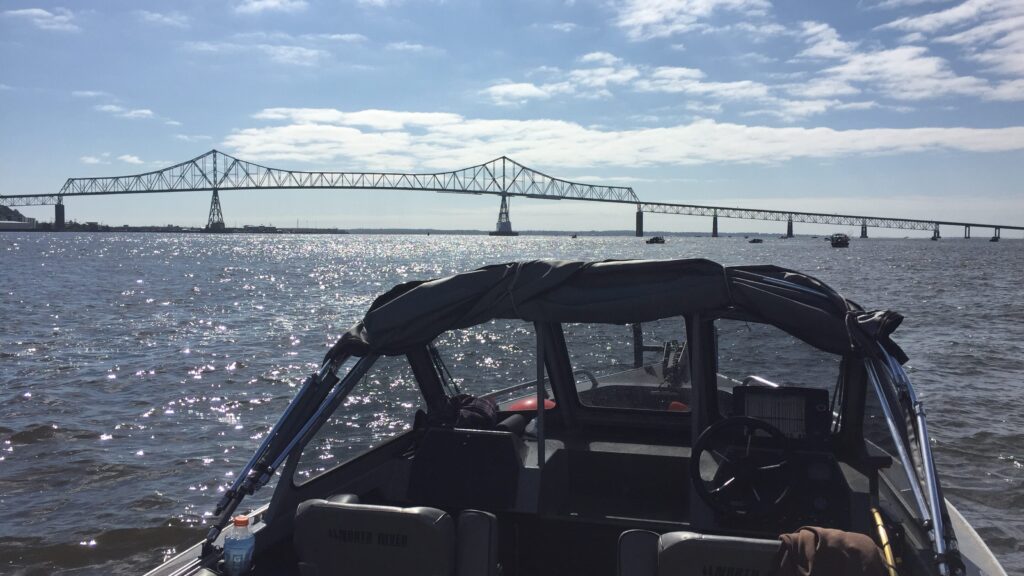
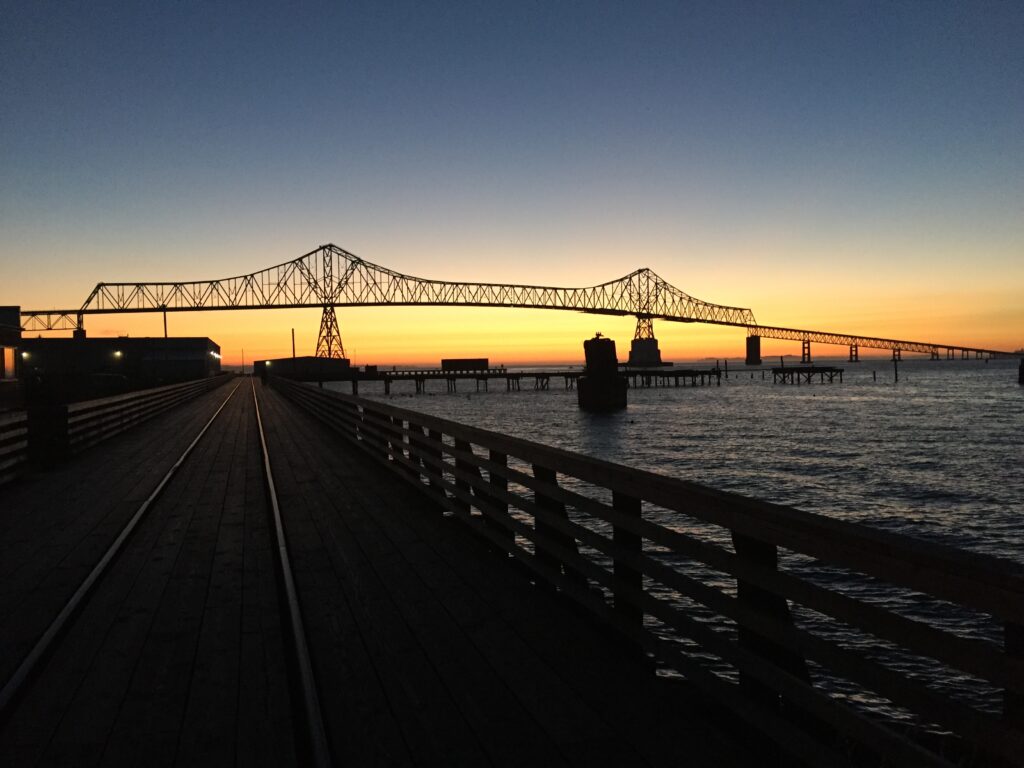
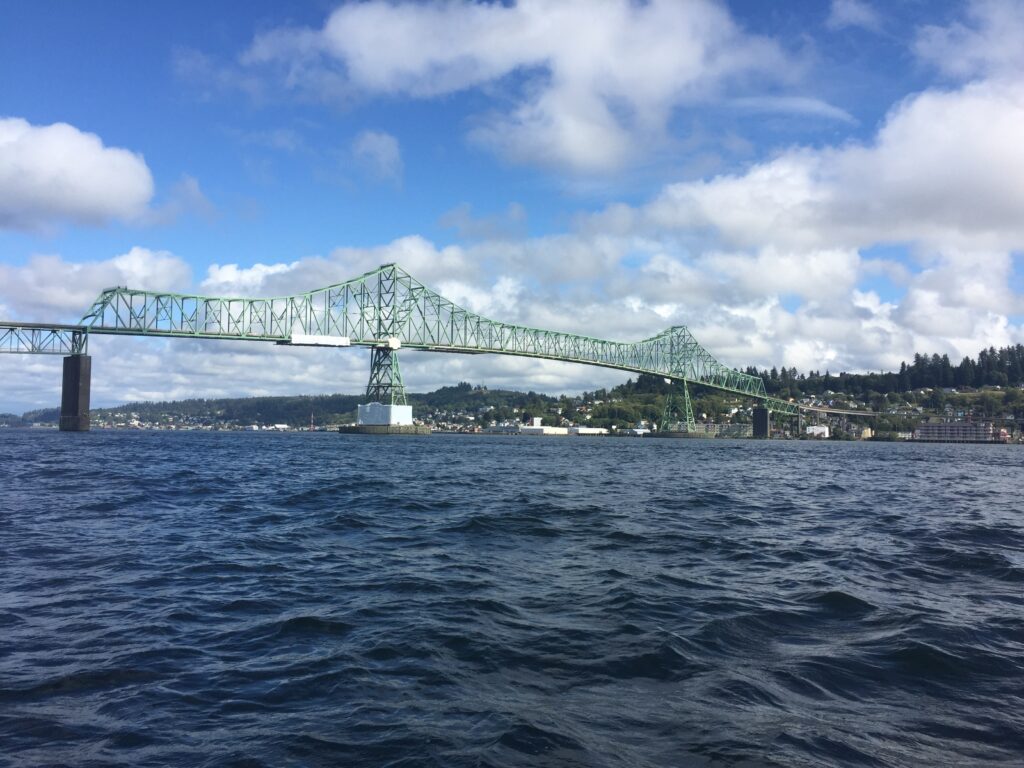
From the Columbia River estuary to the Astoria-Megler Bridge, Buoy 10 offers one of the most recognizable fishing environments in the Pacific Northwest.
Perched at the mouth of the mighty Columbia River, Astoria is a historic coastal town surrounded by some of the Pacific Northwest’s most spectacular scenery. Known for its working waterfront, Victorian homes, fresh seafood, and views of the iconic Astoria-Megler Bridge, the city serves as the gateway to the legendary Buoy 10 salmon fishery. Whether you’re chasing Chinook and coho, exploring the riverfront, or relaxing after a day on the water, Astoria is a destination that makes a Buoy 10 fishing trip about much more than just the catch.
What You Need to Fish Buoy 10
A successful Buoy 10 trolling setup is made up of several components working together.
The exact setup will vary depending on the lure, tide, current and target depth, but most anglers should understand the role of the following tackle.
Silent Pursuit Lures is proud to introduce our new Wacko and Twerk lineup for the 2026 season. Add success to your trip by giving the fish something different to trigger a bite – giving you an edge over the rest of the pack.
Wacko Spinners
Spinners are a popular hardware presentation for Chinook and coho salmon.
A rotating blade creates a combination of flash and vibration that helps salmon locate the presentation. Spinners are commonly fished behind a flasher and can be adjusted by changing blade size, color and other components.
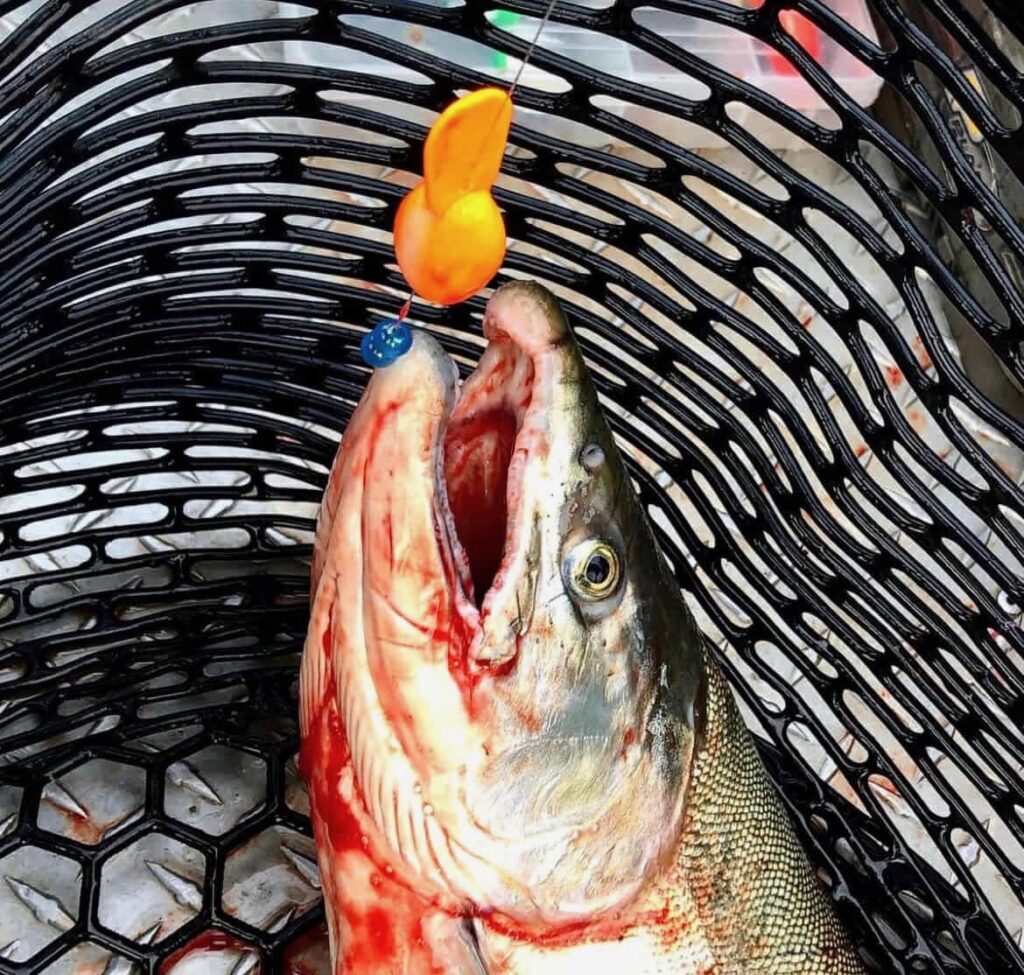
The Wacko from Silent Pursuit introduces a new look for the 2026 season. Now you can attach a spinner to your existing setup, giving you ultimate flexibility on how you want to fish and giving you an edge over the rest of the fisherman. Fish alone or with your favorite bait or hoochie.
What to Consider
- Blade size
- Blade color and finish
- Water clarity
- Light conditions
- Trolling speed
- Leader length
- Flasher compatibility
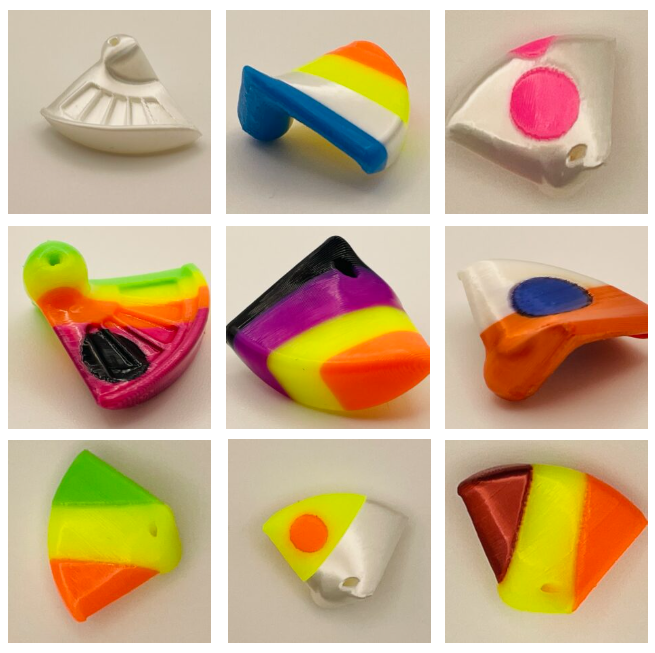
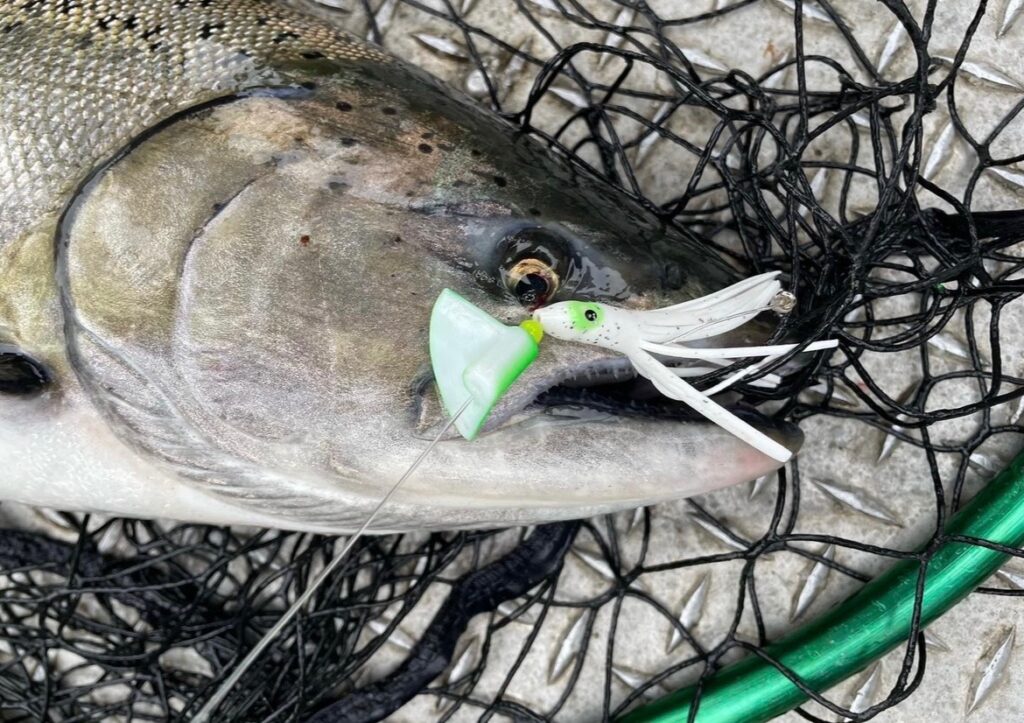
Wacko Clinch Spinners
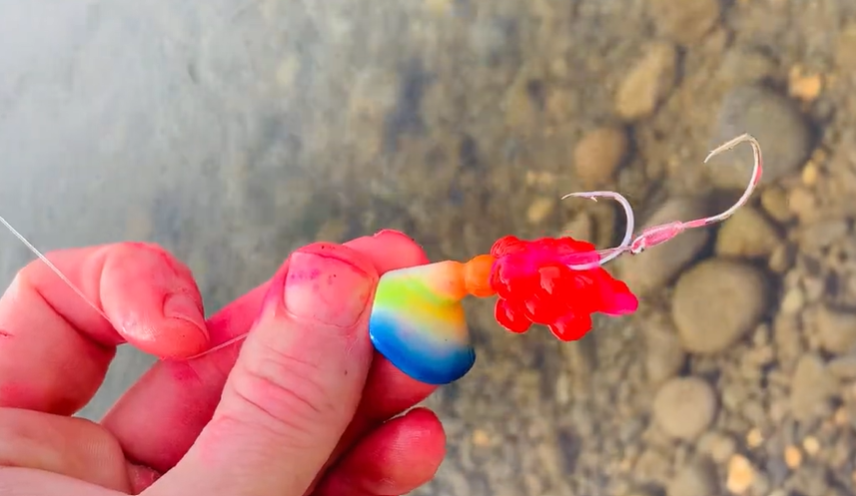
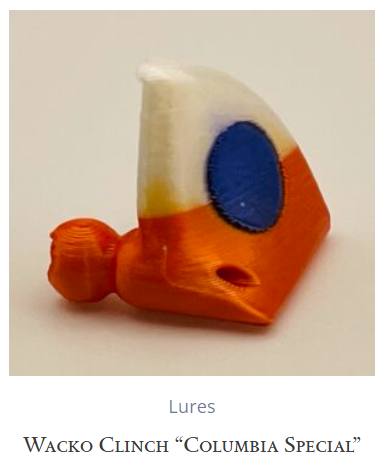
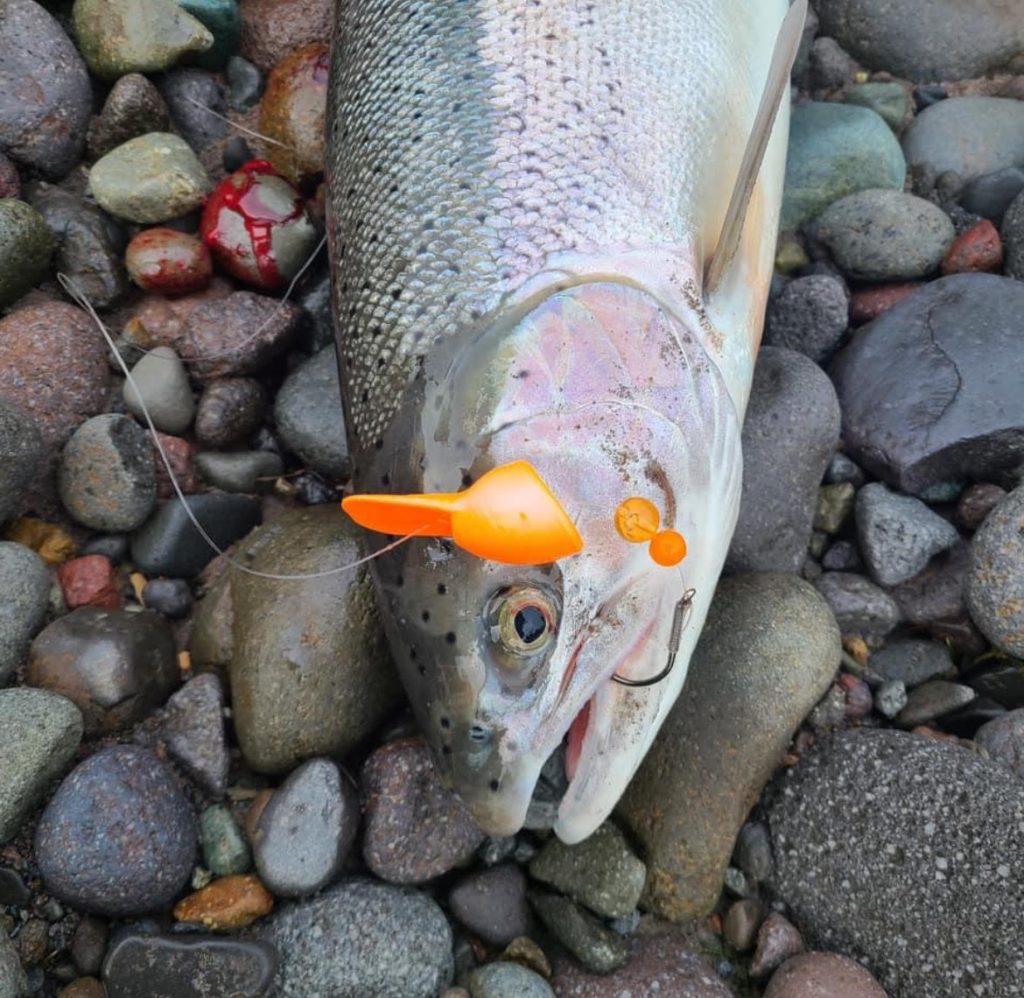
The Wacko Clinch is a spinner that was designed to attach to your hook and spin your presentation. The Wacko Clinch securely attaches to the top of the hook to allow the entire presentation to spin. This works great for baits like sand shrimp or eggs – adding action to the entire presentation. Perfect for back bouncing or trolling.
What to Consider
- Blade size
- Blade color and finish
- Hook size
- Size 4 Clinch uses 4/0-7/0 hooks
- Size 3 Clinch uses 4/0 hooks
- Size 2 Clinch uses up to a 3/0 hook
-
Size 1 Clinch uses size 2-6 Trout hooks
- Water clarity
- Light conditions
- Trolling speed
- Leader length
- Flasher compatibility
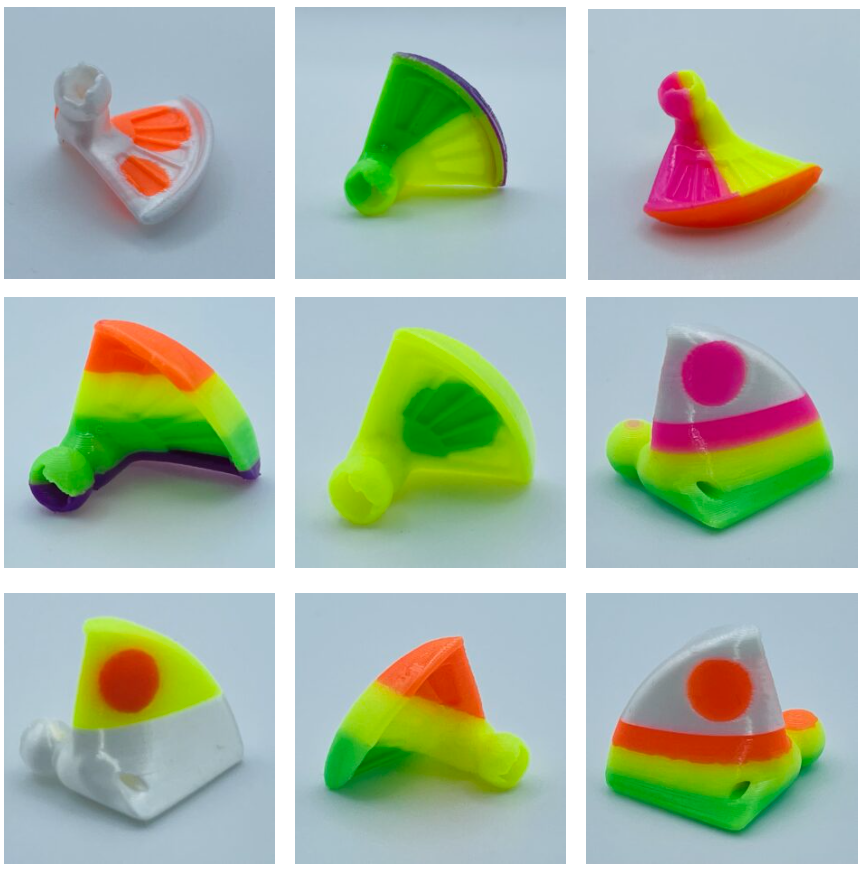
Twerk & Hoochies
Hoochies provide a soft-plastic trolling presentation that can be highly effective for salmon.
They are typically fished behind a flasher and can be rigged in a variety of colors and configurations. Depending on the setup, anglers may also incorporate beads, scent and different hook arrangements.
The movement created by the flasher and water passing over the hoochie gives the presentation its action.
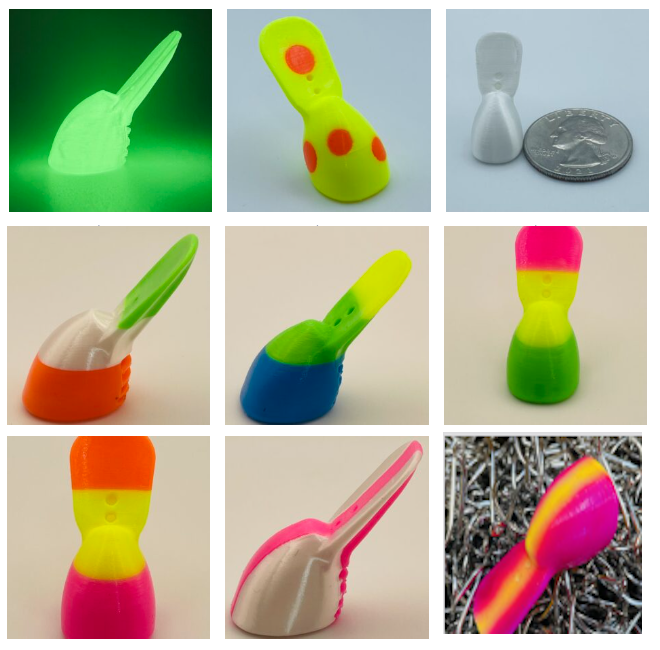
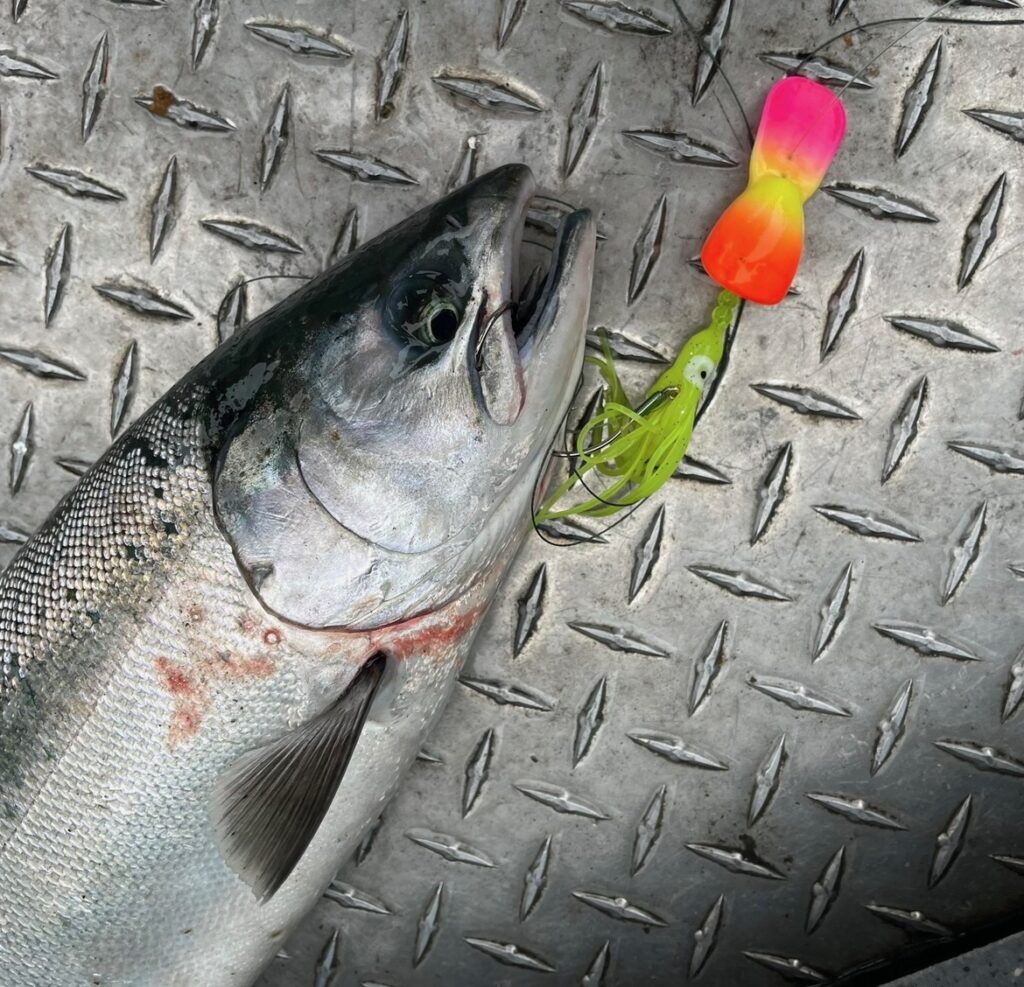
The Twerk from Silent Pursuit enhances your hoochies by introducing a jerky side to side action that is irresistible to fish.
What to Consider
- Color
- UV and glow properties
- Leader length
- Hook configuration
- Flasher action
- Water visibility
Flashers
A flasher is one of the most important components of many Buoy 10 trolling setups.
As the flasher moves through the water, it creates flash, vibration and movement designed to attract salmon to the presentation. The theory is that a flasher looks similar to a fish that just missed a bait bite, leaving it for the next fish who took notice. The flasher can also influence the action of the lure or bait being trolled behind it. Making the action so irresistible that a fish cannot refuse to bite it.
Different styles of flashers create different actions and levels of drag.
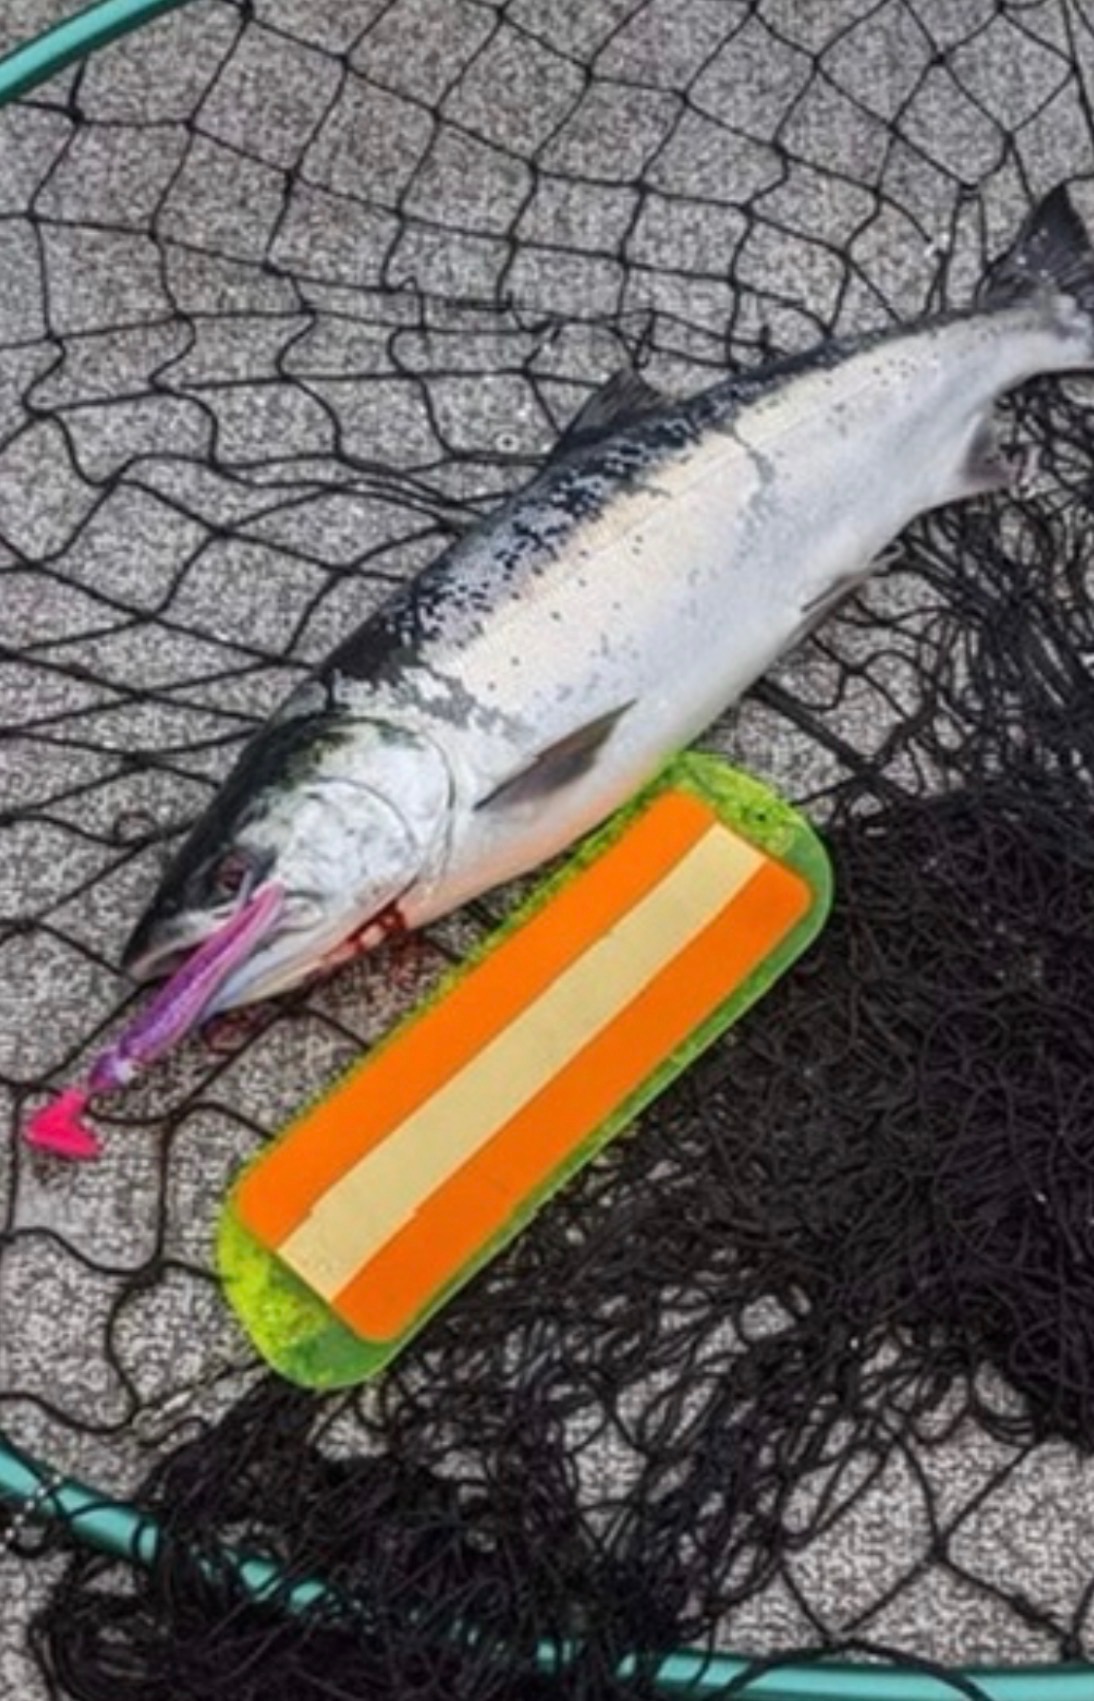
It is recommended to use size 2 or 3 Twerks and Wackos behind 360 flashers for best action.
Types of Flashers
- 360 Flashers (use size 2 or 3 Twerk / Wacko)
- Triangle Flashers
Best Colors to Use
There is no single color that catches salmon in every condition.
Light, water clarity, depth and fish preference can all influence which presentation produces.
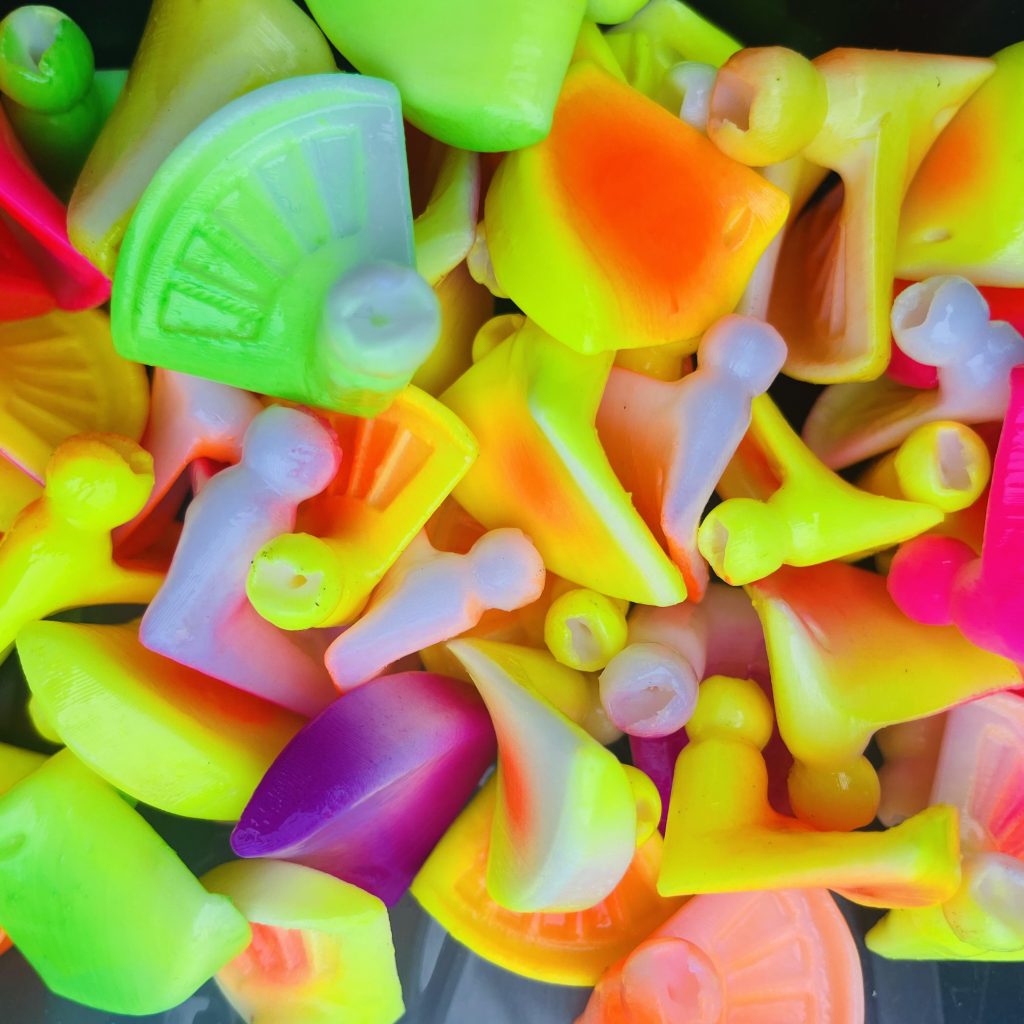
The best strategy is to begin with colors suited to the conditions and then let the fish tell you what they want.
Bright Sun and Clearer Water
In brighter conditions, consider presentations that incorporate:
- Chrome or silver
- Natural baitfish tones
- Green or blue accents
- Controlled contrast
- Chartreuse
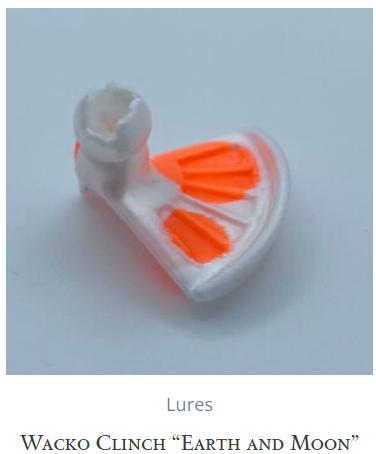
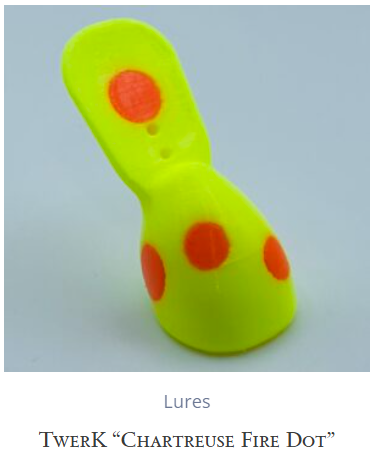
Cloudy and Overcast Conditions
During cloudy or lower-light conditions, anglers may choose presentations with:
-
- UV finishes
- Glow elements
- Pink
- Stronger contrast
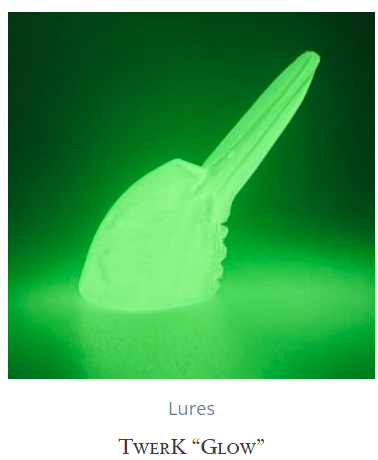
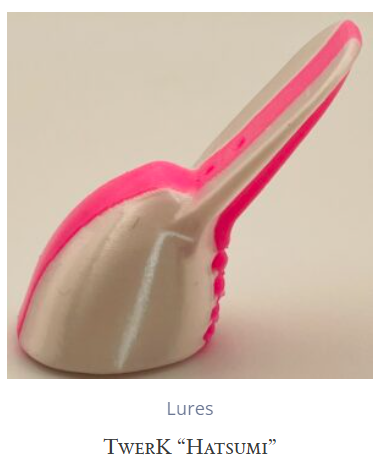
Remember
Color recommendations are a starting point—not a guarantee.
If one presentation isn’t producing, experiment.
Change:
- Color
- Size
- Depth
- Speed
- Presentation
Sometimes a small adjustment can make a significant difference.
How to Rig
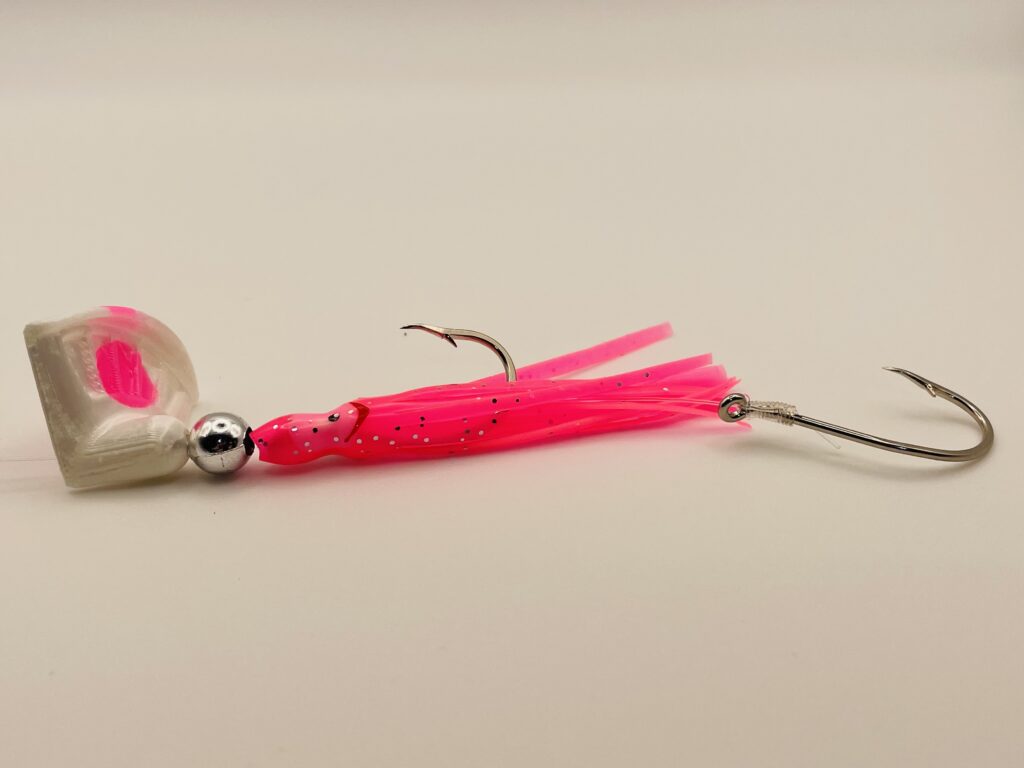
Twerk
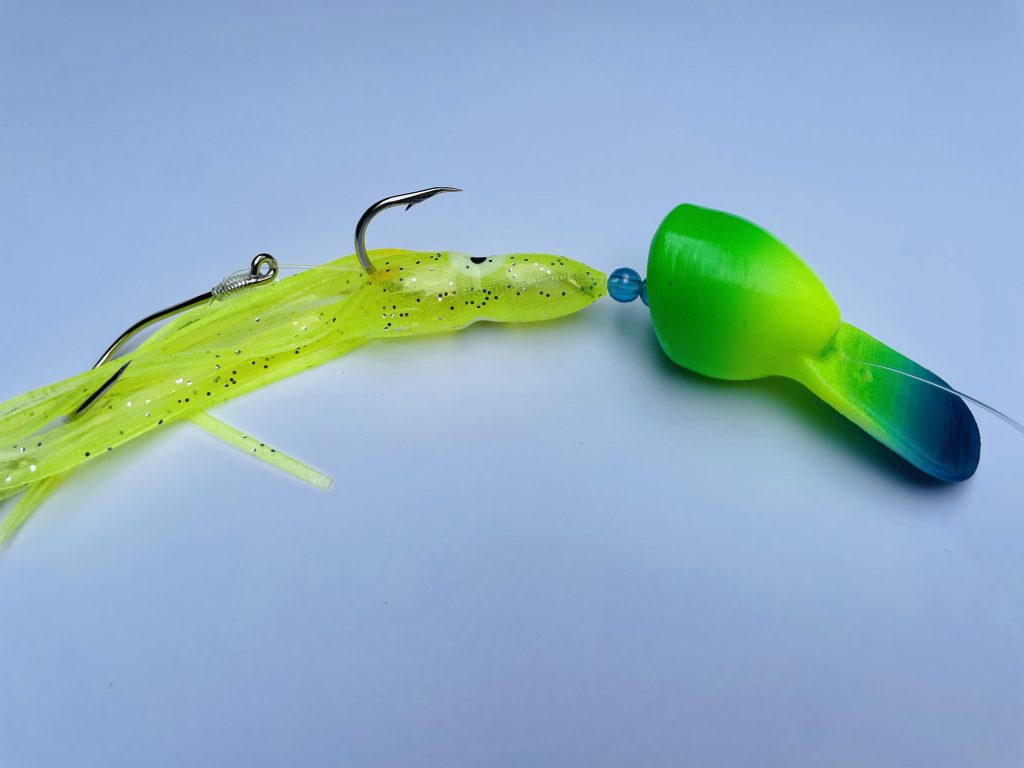
The Twerk was designed to fish in front of your favorite presentation. Typically you want to place a couple of beads in front of your hooks to ensure you have the right action produced by the Twerk.
The Twerk has two options for rigging:
- Less aggressive: Angle the line down when feeding it through the bottom. This should allow the line to feed through the top hole on the bill of the Twerk.
- More aggressive: Angle the line up when feeding it through the bottom. This should allow the line to feed through the bottom hole on the bill of the Twerk.
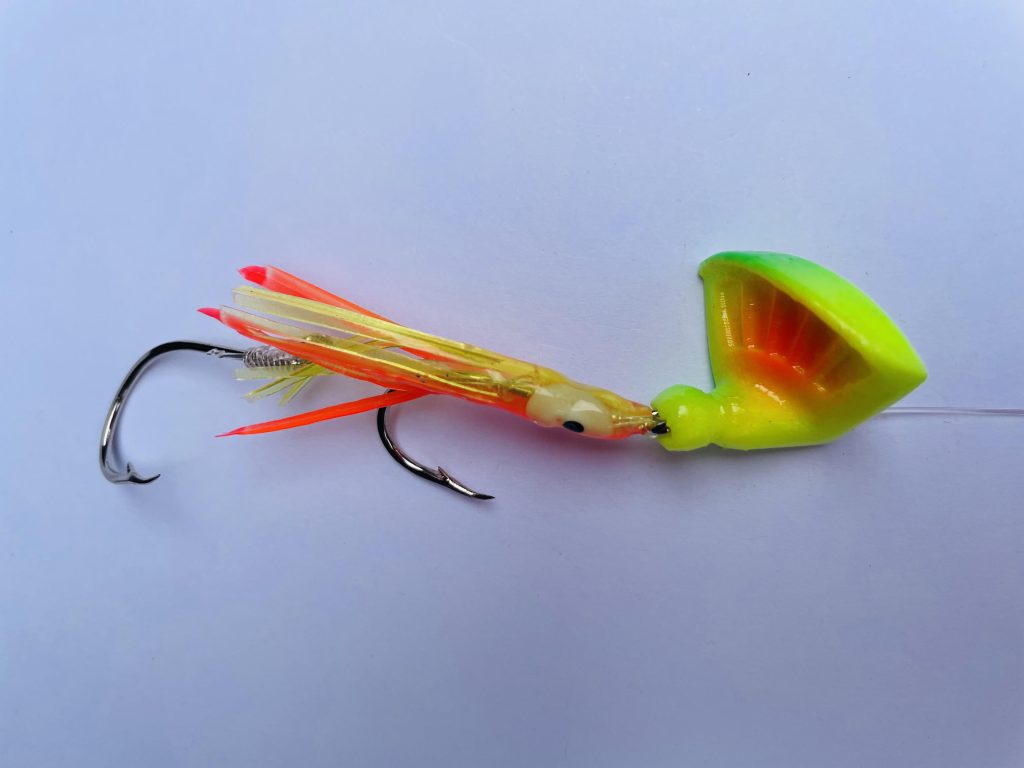
Wacko & Wacko Clinch
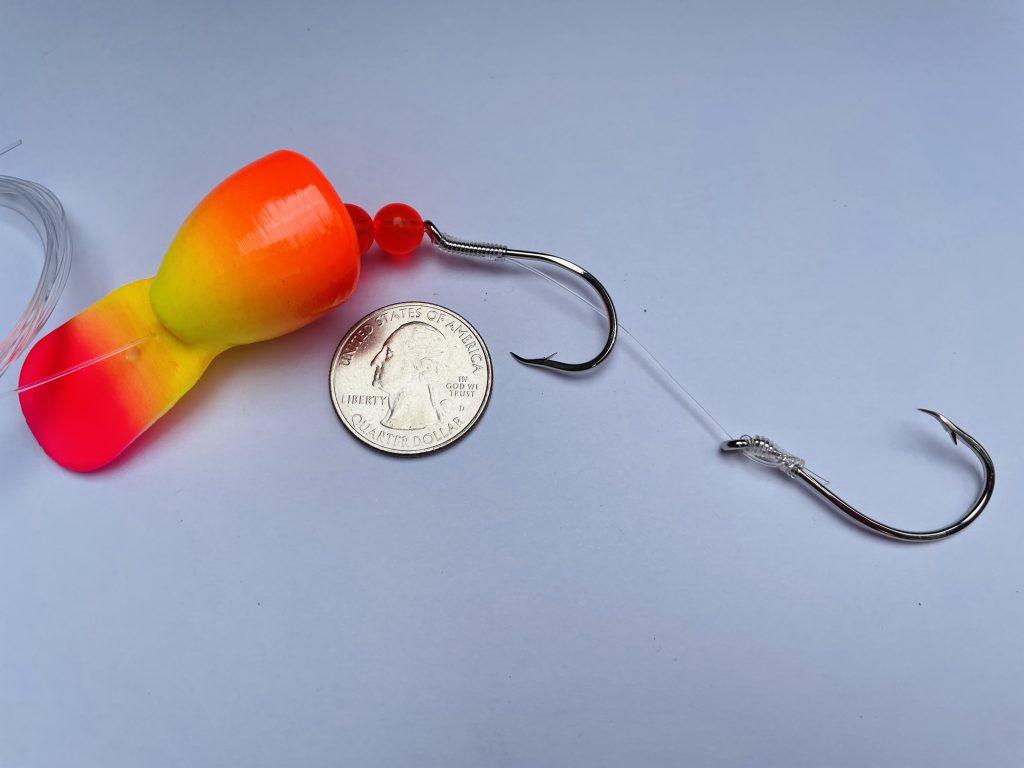
The Wacko was designed to fish in front of your favorite presentation.
There are two versions of the Wacko each with specific rigging:
- Wacko : The Wacko emulates your typical spinner and is meant to spin in front of your hooks and favorite hoochie or bait. Add a bead or two to ensure you have enough clearance to allow the Wacko to spin. Similar to how you would rig a spin-n-glo.
- Wacko Clinch : The Wacko Clinch was designed to attach to your hook and spin your presentation. No beads should be used and the Wacko Clinch should securely attach to the top of the hook to allow the entire presentation to spin. This works great for baits like sand shrimp or eggs adding action to the entire presentation.
Flashers
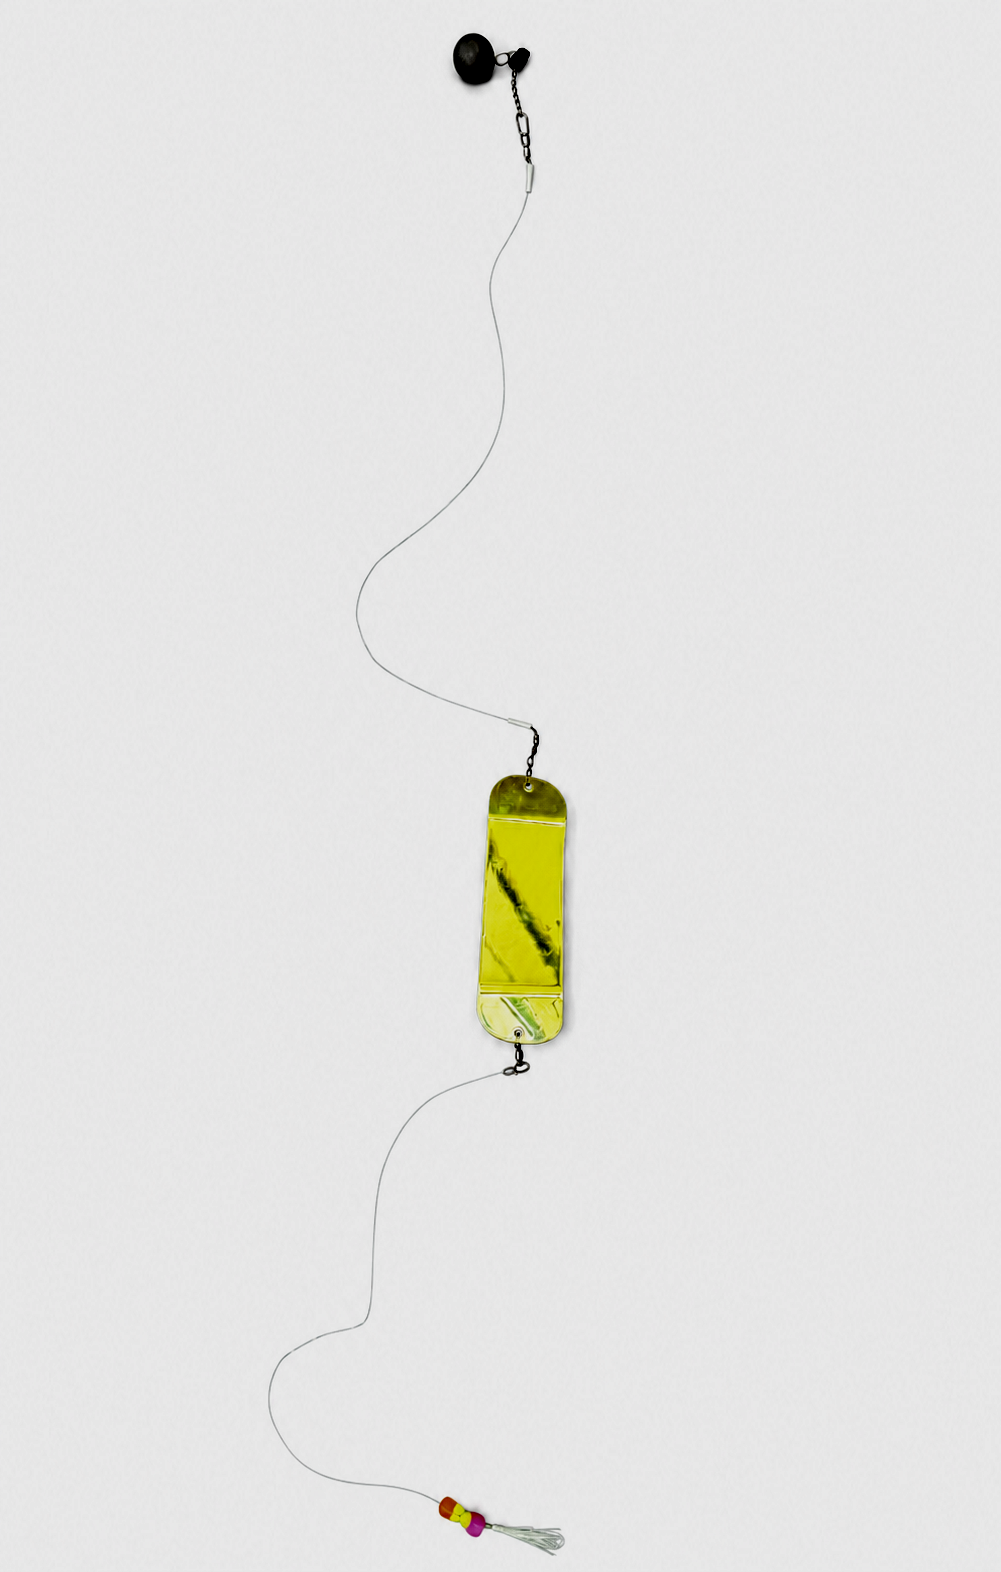
The goal is to match the flasher, leader and lure so the entire system works together. Most people run 12-16oz lead cannonball to handle the powerful tide on an in-line slider to allow the 360 flasher a full unimpeded rotation. This is followed by a bead chain, snap swivel, a 18-24-inch heavy bumper line, another snap swivel, the flasher, another snap swivel then 18 – 48″ of leader depending on the action desired.
Rigging a flasher correctly is key to creating the action that attracts salmon and gives your bait or lure the right presentation. Start by attaching the bumper line to the front of the flasher, then connect your leader to the rear swivel, making sure all swivels, snaps, and knots are secure. Leader length can vary depending on the bait, lure, current, and trolling speed, but the goal is to allow the flasher to rotate freely while giving the offering enough movement to look natural. Before dropping the rig, run it beside the boat to confirm the flasher is rotating smoothly and the bait is tracking properly without spinning or tangling
It is recommended to use size 2 or 3 Twerks and Wackos behind 360 flashers for best action.
How to Fish Buoy 10
Understanding the tide is one of the most important parts of fishing the Columbia River estuary.
The tide changes:
- Current direction
- Current speed
- Salmon movement
- Boat position
- Trolling speed
- Line angle
- The amount of weight needed
The strategy that works on the incoming tide may need to change completely when the tide turns.
Fishing the Incoming Tide
During the incoming tide, ocean water flows into the Columbia River and pushes upriver through the estuary. Baitfish and migrating salmon can move with this cooler incoming water, gradually progressing from the lower estuary toward the Astoria-Megler Bridge and areas farther upriver.
A common strategy is to begin lower in the river near Buoy 10, Baker Bay or the lower estuary around low slack and then move upriver as the flood tide develops. The exact starting point depends on the strength of the tide, weather, boat capability and where fish have recently been located.
Salmon may be suspended at different depths during the incoming tide, so avoid placing every rod at the same level. Stagger your presentations through the water column until you begin identifying a productive depth.
Incoming-Tide Strategy
- Begin lower in the estuary when conditions safely allow.
- Troll with the current and gradually work upriver as the tide develops.
- Fish several suspended depths until you locate salmon.
- Watch for bait, fish marks and productive trolling lanes.
- Record the depth or line-counter setting when a fish strikes.
- Repeat productive passes instead of immediately leaving the area.
- Adjust weight and boat speed as the incoming current strengthens.
- Position yourself near the area you want to fish before high slack arrives.
The incoming tide is not only an opportunity to catch fish—it also positions both salmon and anglers for the important high-slack tide change.
High Slack and the Tide Change
High slack occurs when the incoming current slows, briefly pauses and begins changing into an outgoing tide.
By this stage, salmon that entered the estuary with the flood tide may have moved toward or beyond the Astoria-Megler Bridge. This can concentrate fish around the bridge, adjacent channel edges, Desdemona Sands and nearby fishing areas.
High slack and the beginning of the outgoing tide are widely considered among the most important periods to have your gear fishing effectively.
Tide-Exchange Considerations
Smaller tidal exchanges may allow salmon to remain in the estuary and around the bridge for longer periods. During stronger exchanges, fish may move through the system more quickly, requiring anglers to cover more water and follow them farther downriver.
Rather than viewing every outgoing tide the same way, consider:
- The size of the tide exchange
- The timing of high slack
- Wind direction and strength
- Current speed
- Recent fish locations
- Your boat’s capabilities
The most important principle is to anticipate the tide change and move with the fish instead of remaining committed to one location throughout the entire ebb.
Fishing the Outgoing Tide
The outgoing tide—also called the ebb—begins after high slack, when the current starts flowing back toward the Pacific Ocean.
As the ebb begins, salmon commonly turn to face into the current. Anglers can then make downstream trolling passes, beginning near the bridge or other upriver holding areas and moving progressively downriver as the outgoing current builds.
The turn of high tide and the first half of the outgoing tide can provide one of the best fishing windows of the day. Fish may remain concentrated around the bridge and nearby channels during the early ebb, especially during smaller or softer tidal exchanges.
Early Outgoing-Tide Strategy
- Begin near the bridge, channel edges or another confirmed holding area.
- Troll downstream with the developing current.
- Keep presentations close to the bottom where appropriate.
- Avoid dragging the weight or gear continuously along the riverbed.
- Watch your depth finder closely as the bottom changes.
- Increase weight when necessary to maintain the intended line angle.
- Repeat productive downstream passes while fish remain concentrated.
- Keep every rod fishing during the first portion of the ebb.
As the outgoing tide strengthens, salmon and anglers may move progressively downriver. During larger tidal exchanges, boats may follow the fish from areas near the bridge toward the lower estuary, Baker Bay and the river mouth.
Later Outgoing-Tide Strategy
- Move downriver as fish leave upriver holding areas.
- Check presentations frequently for weeds and debris.
- Adjust weight as the current becomes stronger.
- Monitor changing depths, shoals and channel edges.
- Give commercial ships and other fishing boats plenty of room.
- Watch for wind opposing the outgoing current.
A west wind blowing against a strong outgoing tide can quickly create steep, rough water—particularly below the Astoria-Megler Bridge. Conditions and boat safety should always take priority over continuing a trolling pass.
Where to Fish at Buoy 10
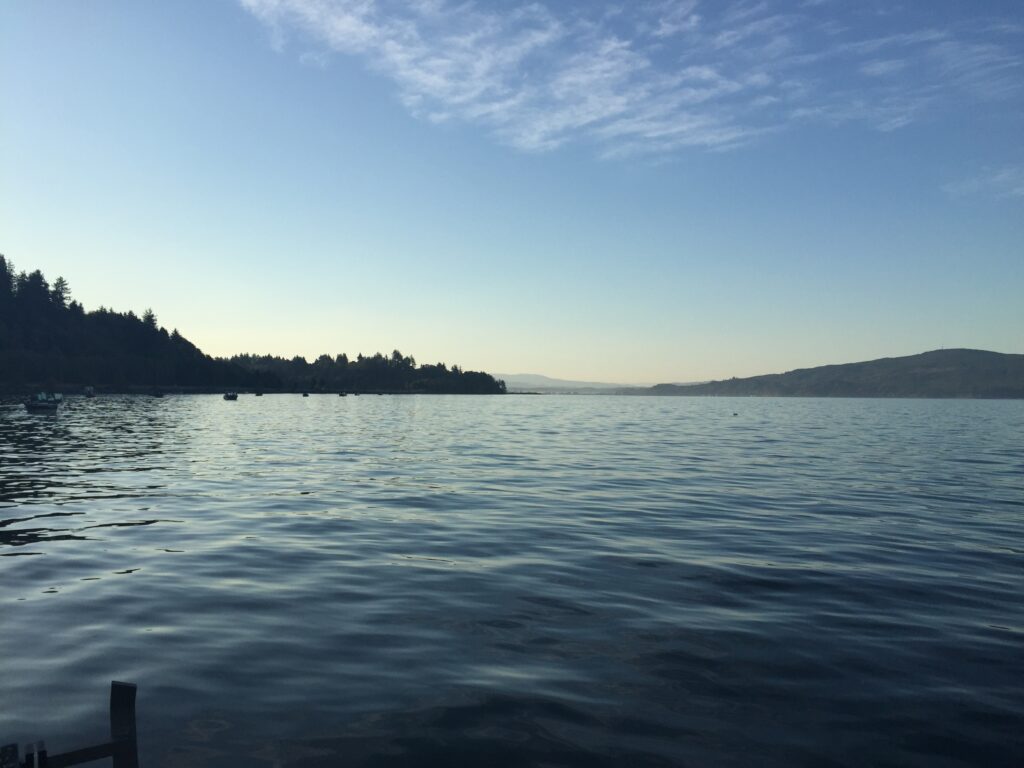
Buoy 10 is a large and dynamic fishery.
Productive locations can change throughout the day as the tide, current and salmon movement change.
Rather than thinking of the estuary as one fishing spot, learn the major areas and understand how they relate to the tide and movement of fish.
Hammond
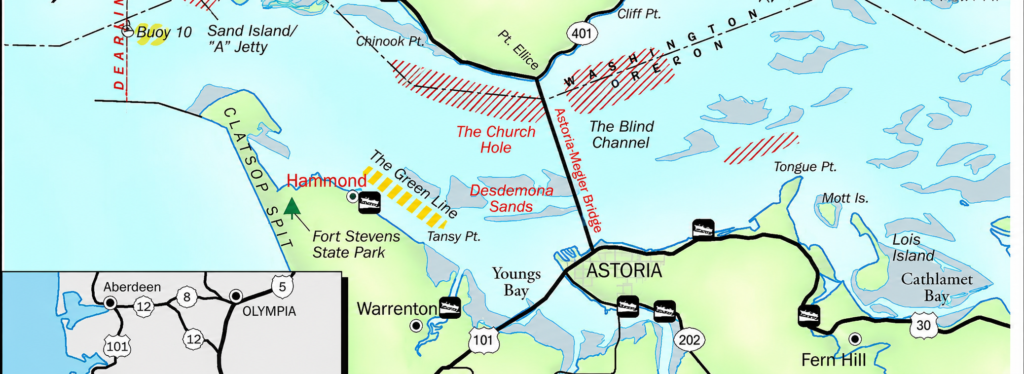
Located on the Oregon side near the lower end of the estuary, Hammond is a common access point and reference area for anglers fishing the lower Buoy 10 fishery. It is also referred to as the Green Line.
The surrounding water provides access to lower-estuary trolling areas where anglers may intercept salmon moving in from the ocean. It is deeper water and these fish are running an average of 15-30 feet down. Schools of fish come through this area making their way in from the Ocean. Hold into the current on the floods tides and wait for the fish to show up.
The Green Line is a popular trolling route on the Oregon side of the Columbia River, generally running between the Astoria-Megler Bridge and Hammond along the green navigation markers and the deeper edge of Desdemona Sands. Anglers often target water in the 20- to 30-foot range, trolling with or across the current while keeping their presentations near the bottom when appropriate. Pay close attention to your GPS track, depth finder, and where bites occur—when you find a productive trolling path, return upstream and repeat the same line.
What to Consider
- Tide direction
- Current strength
- Nearby shallow areas
- Boat traffic
- Changing salmon movement
The most productive trolling lane can change as the tide progresses.
Washington Side Above The Bridge
The Washington side above the Astoria-Megler Bridge can be a good option when the typical afternoon northwest winds begin to build. The surrounding terrain can provide some protection from the wind, creating more manageable fishing conditions than areas farther downriver. Keep in mind, however, that conditions may be significantly rougher once you leave this protected area to return to your launch.
This area can be productive near the end of the incoming tide, through high slack, and during the first few hours of the outgoing tide.
One option is to troll the edges of Desdemona Sands in approximately 20 to 30 feet of water, keeping your presentation near the bottom when appropriate. Several deeper channels run through the flats, so use current charts and your depth finder to identify changes in bottom structure and potential travel lanes.
When you get a bite, make note of your location and trolling path. A GPS track can help you return upstream and repeat the same productive line.
Anglers also troll the deeper water along the Washington shoreline, working upriver from the bridge and rest-area vicinity toward the locally known “Shipwreck” area, named for the remains of an abandoned vessel visible along the shore.
Oregon Side Above The Bridge
The Oregon side above the Astoria-Megler Bridge offers a large area to explore, from the water immediately around the bridge upriver toward Tongue Point and, later in the season, toward Rice Island.
A common trolling area extends between Tongue Point and the bridge, including water along the navigation-marker line and the deeper edges of Desdemona Sands. Depths in the 20- to 30-foot range can be productive, depending on the tide and location.
In this area, anglers generally troll with the current or across it rather than directly against a strong current. Pay close attention to boat speed, lure action and line angle as the tide changes.
The area above Tongue Point toward Rice Island can become increasingly productive later in August as salmon move farther upriver.
This upriver area can also be worth exploring during smaller tidal exchanges—sometimes referred to by anglers as “holdover tides.” These occur when there is a relatively small difference between high and low tide, such as a 3- to 4-foot exchange, compared with larger tidal swings that may approach 8 to 11 feet.
A smaller exchange can produce slower currents and may allow fish to remain in an area longer. When a smaller tide change occurs during the morning fishing period, the water above Tongue Point can be an area worth considering.
As always, use current charts, monitor water depth and adjust your location based on the tide, weather and where fish are being found.
Desdemona Sands / Church Hole
Desdemona Sands is a large shallow and shoal area near Astoria.
Anglers may fish along productive edges in the surrounding area, but rapidly changing depths and shallow water require constant attention.
Most angling is done on the edge of the Washington side of the Desdemona Sands. Trolling up to the bridge in the average depth of 18-35’. It is over 60’ deep along the Washington shore line, which will also hold fish. Best time to fish this deep water is on soft tides. On bigger tides hold into the current near the bridge on the incoming tide. Fish 20-30’ deep. You will hook up on fish coming in with the tide.
Church Hole is a well-known fishing area on the Washington side of the lower Columbia River and can provide a productive alternative to the more crowded water around the Astoria-Megler Bridge. Anglers often target this area around the end of the incoming tide, high slack, and the early outgoing tide, trolling with the current and paying close attention to depth, bait, and fish movement. When you find a productive trolling path, mark it on your GPS and repeat the same pass while the fish remain in the area.
What to Consider
- Monitor your depth finder
- Use current marine charts
- Watch for rapid depth changes
- Never rely on another boat’s route
- Do not use a fishing map as a navigation chart
Buoy 10 Fishing Reports
July 18 2026
This is our opener Buoy 10 fishing report for Saturday 7/18. Currently its only ocean fishing at Buoy 10 until August 1 with the regulations allowing a total of 2 salmon per person. You may keep up to 2 hatchery coho or chinook and you are allowed 1 native chinook. All Chinook must be over 22 inches, 16 inches for coho.
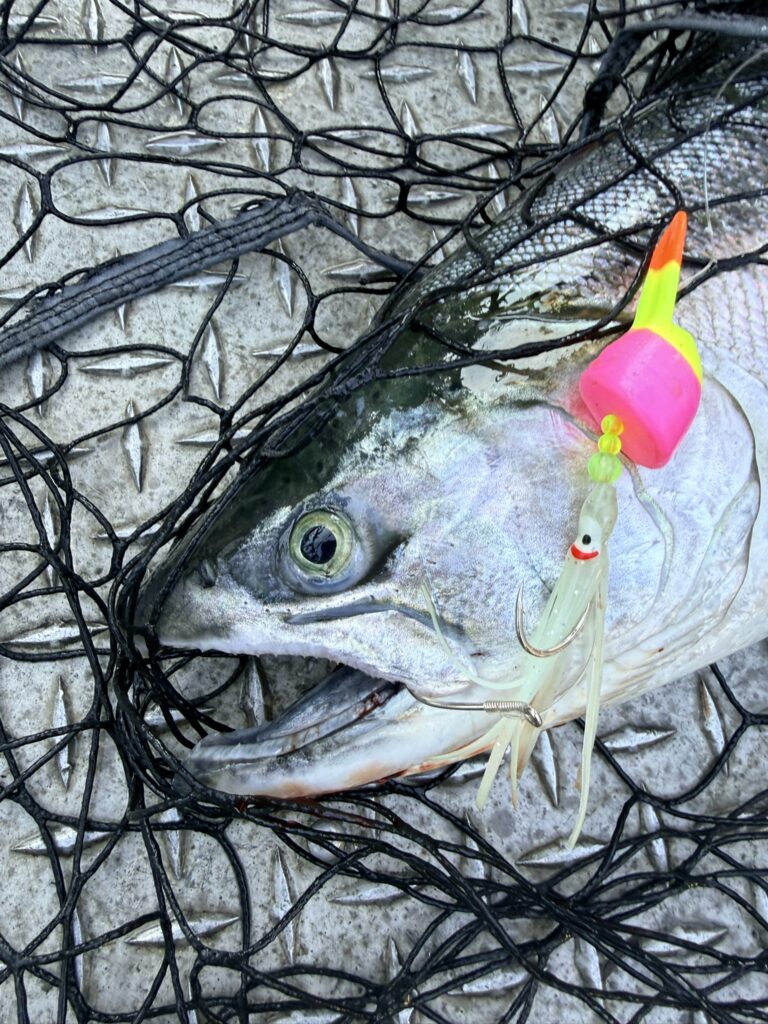
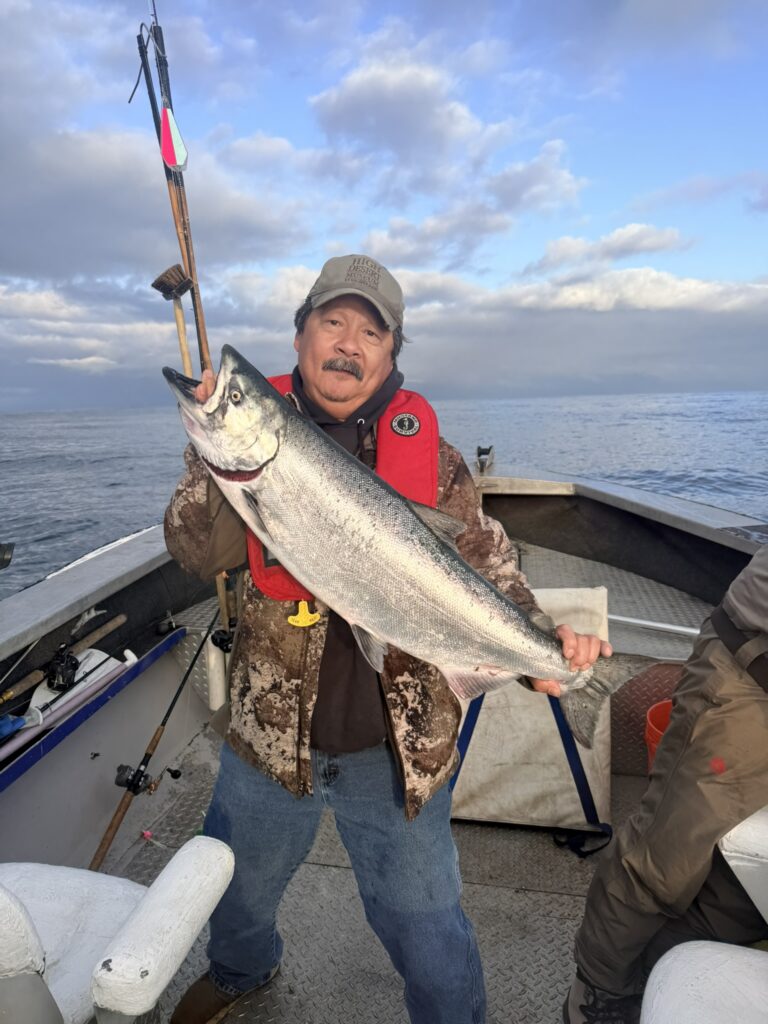
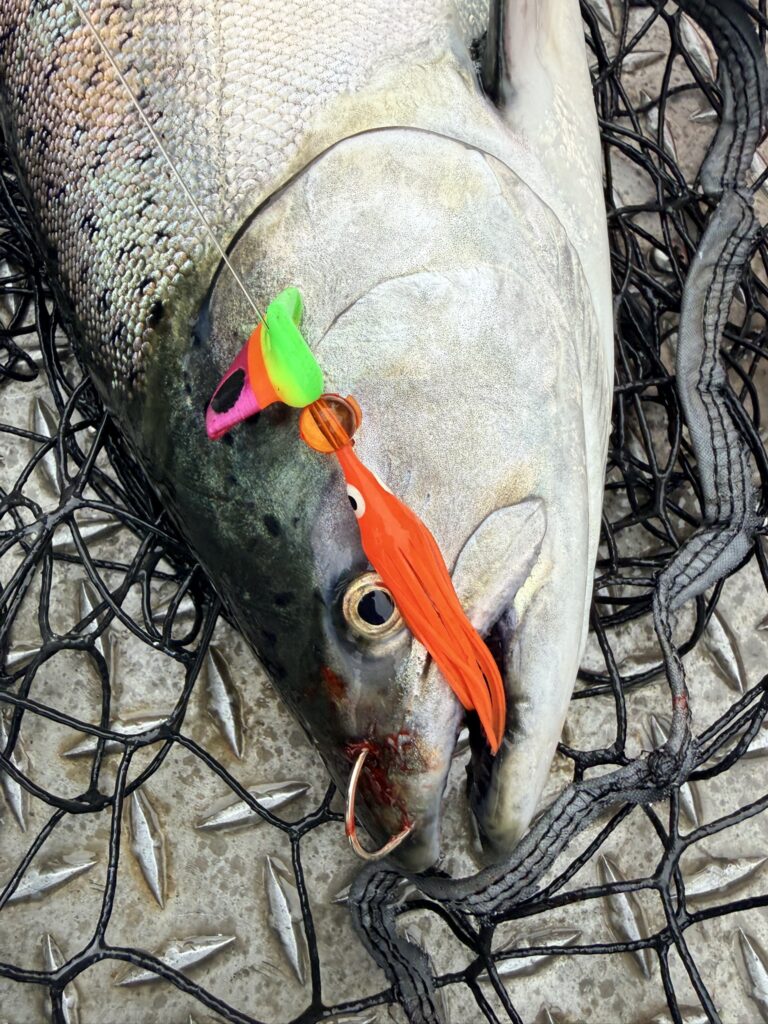
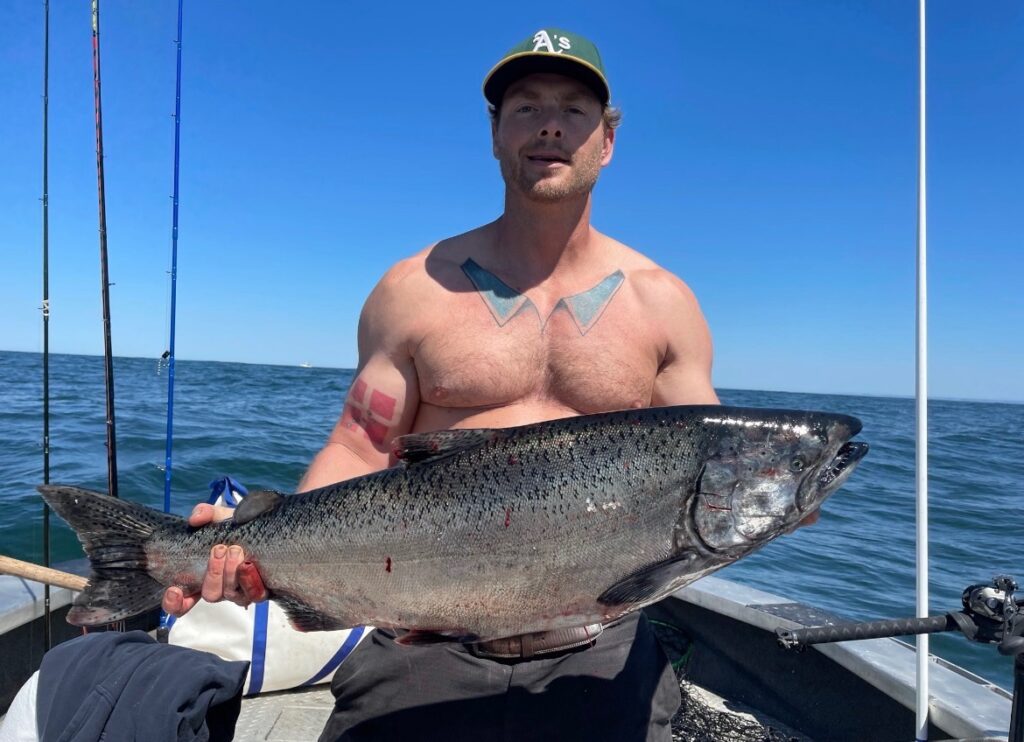
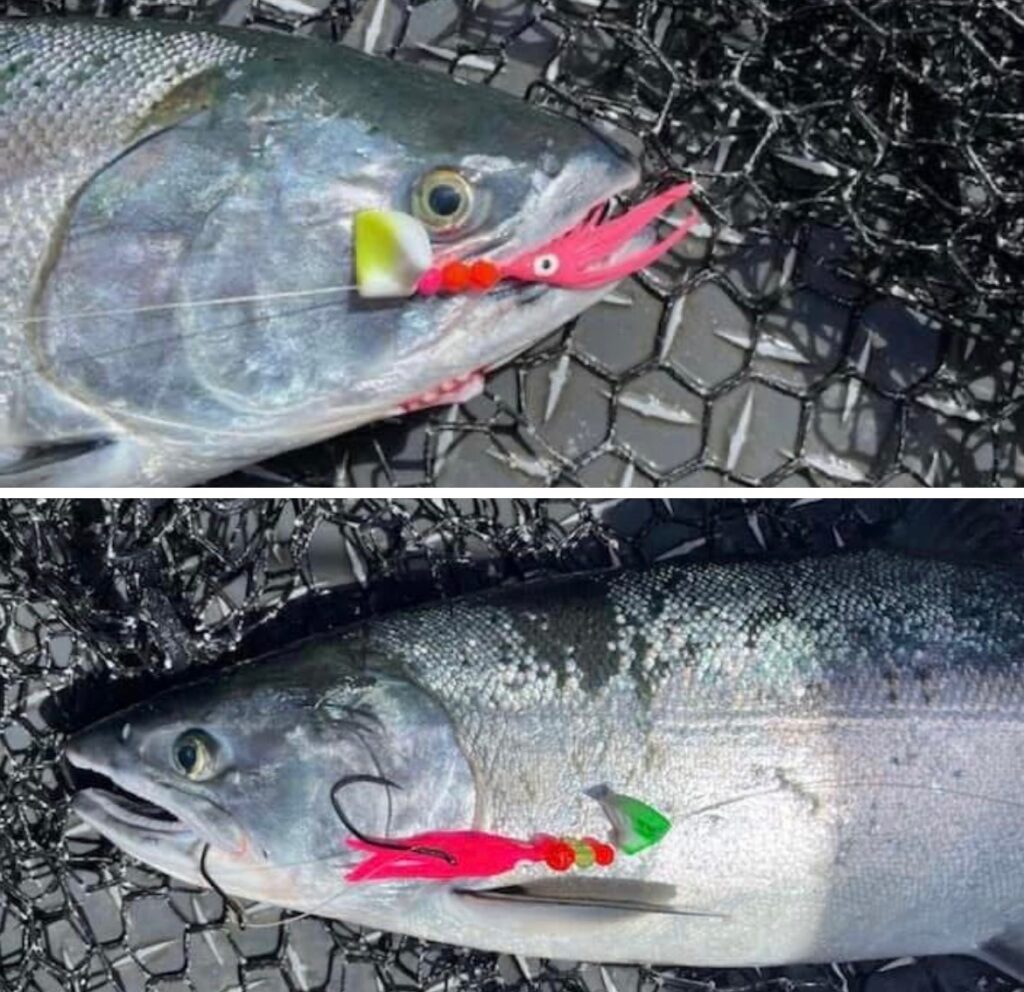
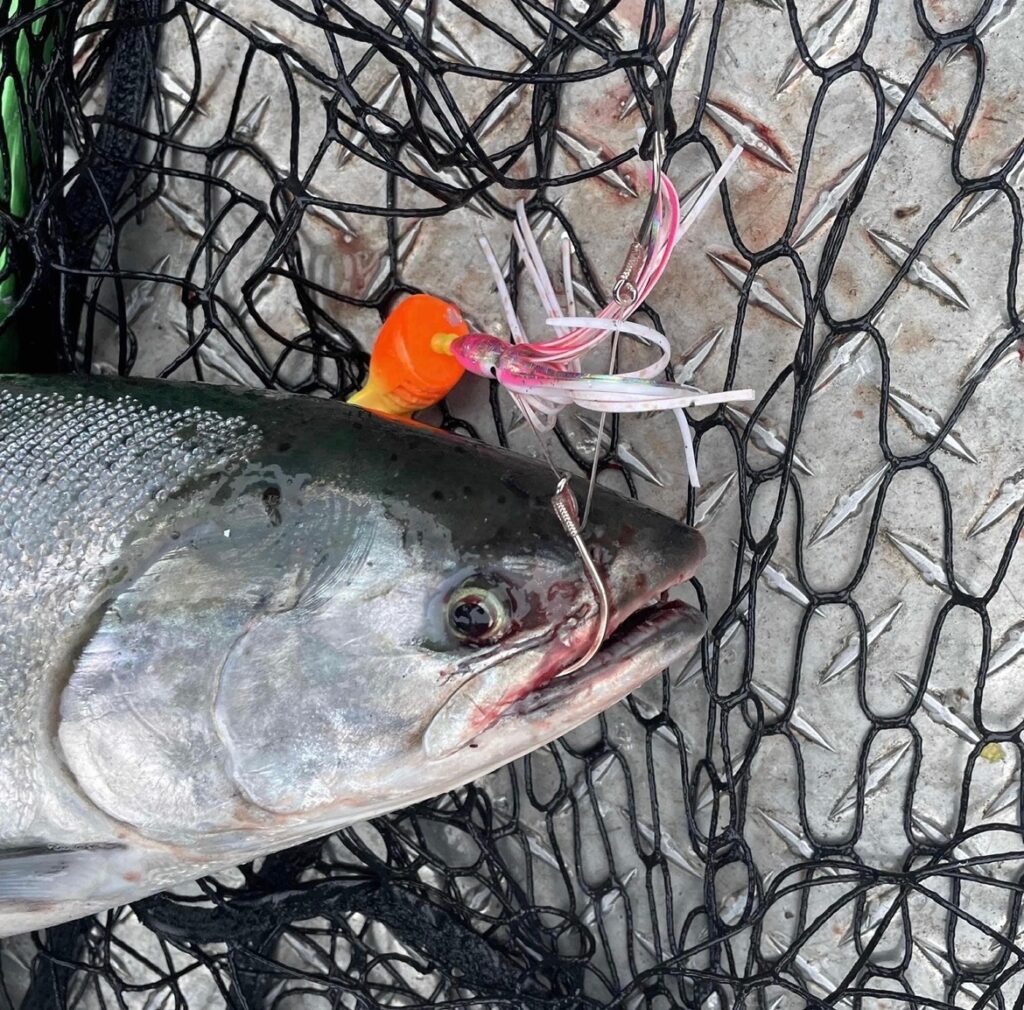
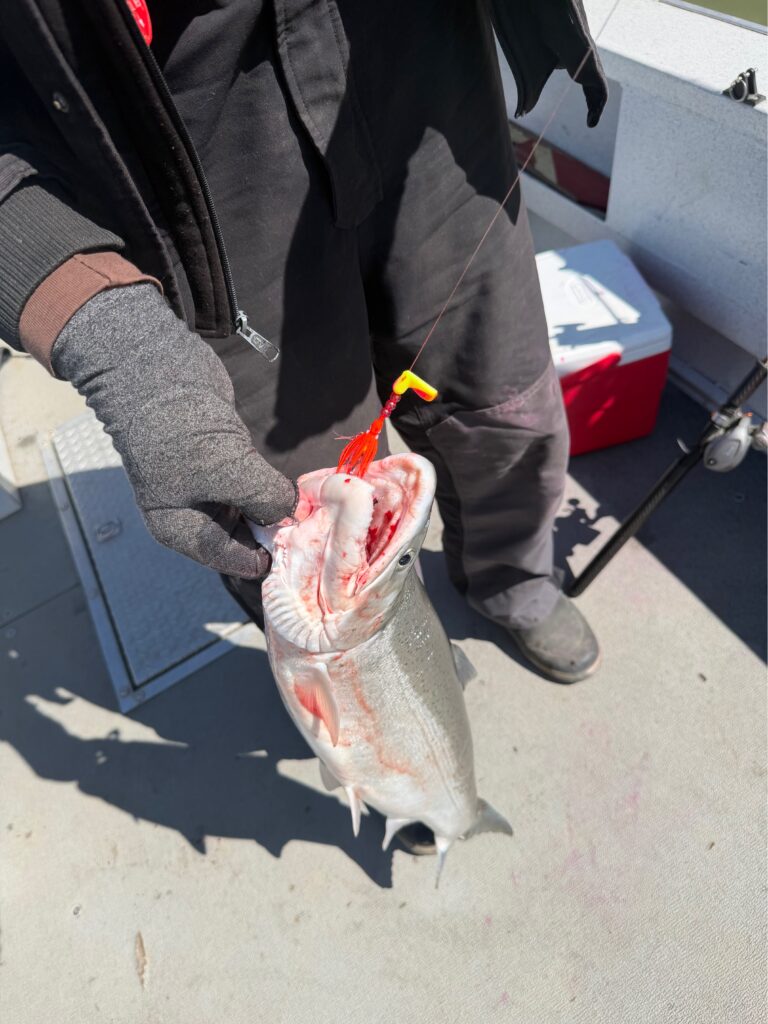
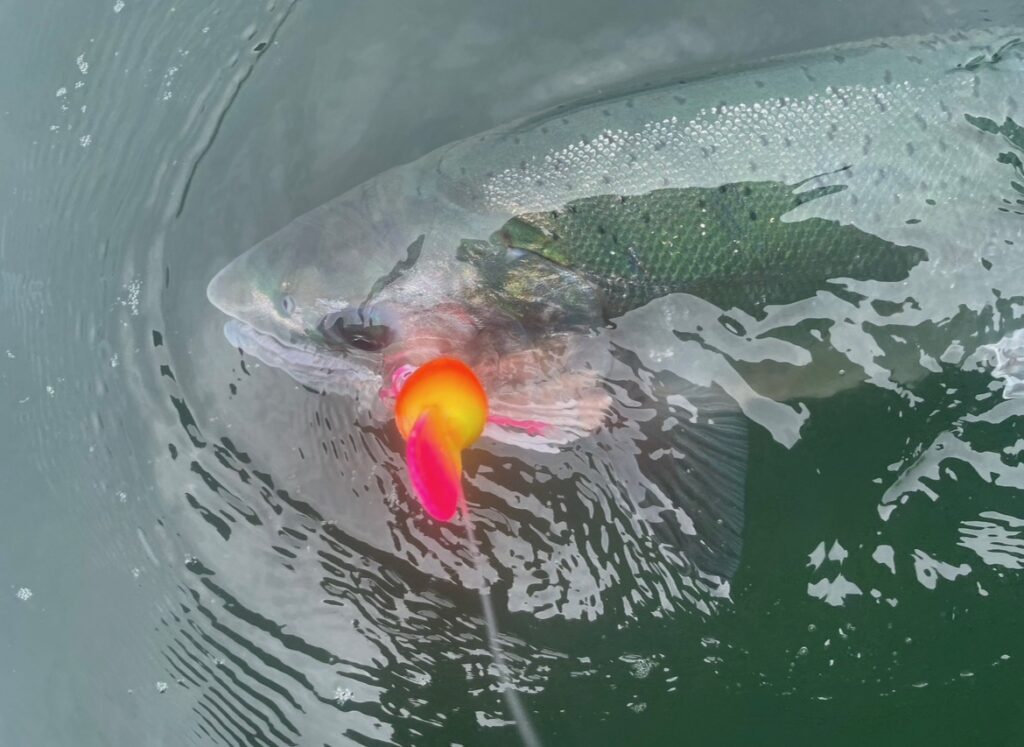
We started out our day leaving Hammond at 6am. The launch was a little busy but no lines when we launched. We crossed the bar just past the high tide and had no problems. Wind was coming out of the north / northwest at 6mph. We immediately stopped and dropped four crab pots right outside the north jetty, stuffed with salmon carcasses. We then cruised up to north head lighthouse and dropped our lines around 7am. We immediately got into fish, catching a 18 lbs chinook on a size 3 Twerk – “Lillard” w/ white hoochie, a coho on a size 2 Wacko – “West Coast” with orange hoochie and lost several other salmon. All lures were fished behind a chrome 360 flasher with the line counters around 35 feet.
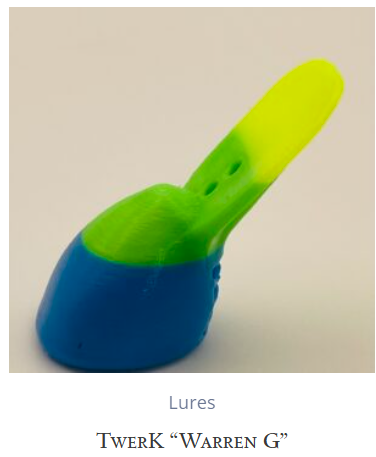
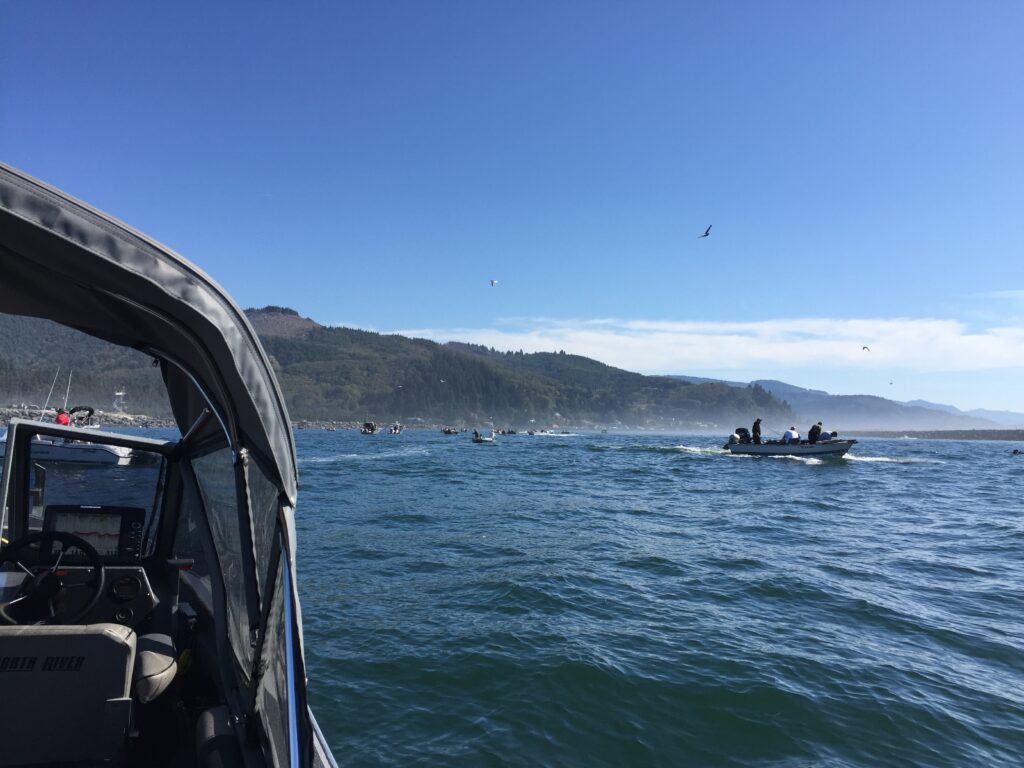
We then moved up north and started fishing in front of Long Beach where most of the fleet was positioned. We continued to hook fish after fish in this area all on Silent Pursuit Lures. We used the following rigs all behind 360 flashers: size 2 Wacko – “Pink Dot”, size 3 Wacko – “Dawn”, size 2 Twerk – “Warren G” and a size 3 Twerk – “Hatsumi”. Most chinook were hooked around 35 feet and coho hooked around 15-30 feet on the line counter.
We ended up getting our limits by 10:30am. There were four of us and we ended up going 8 for 16 in the 3.5 hours we were on the water. We trolled mostly north, zig zagging as we went. The wind stayed calm and the sun was out. Looking around, everyone else seemed to be having just as much fun.
We headed back to our crab pots. All of our crab pots were stuffed with Dungeness crab and we ended up with 30 keepers. We were back to the launch at Hammond by 11:30 with a calm crossing at low tide.
All in all it was an epic opener for our Buoy 10 season.
July 19 2026
Sunday was a little different story in the morning. The wind was gusting all night long in Hammond. We got up at 4am and found the wind had died down but was still at 12 mph blowing from the NW. Although the ramp traffic was much lighter that morning we decided to give it a go.
We launched at 5:30 and crossed a bar that was less than favorable. The wind kicked up and the outgoing tide was in full effect. It was a bit hairy crossing so we decided to skip the crab pots for that day.
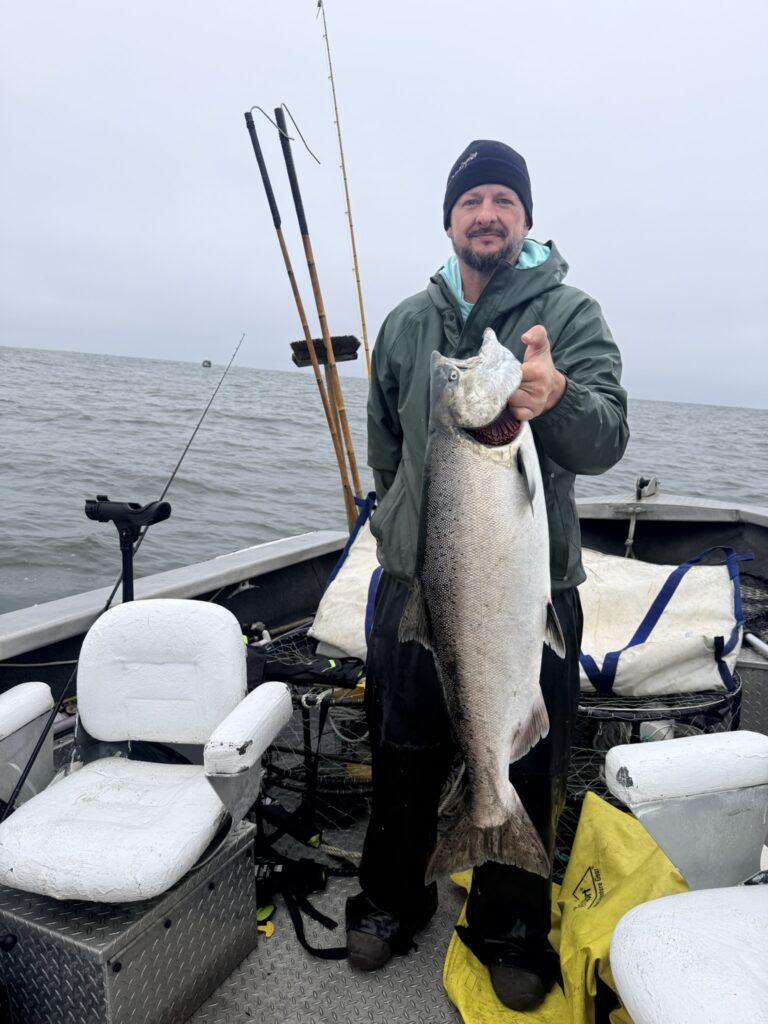
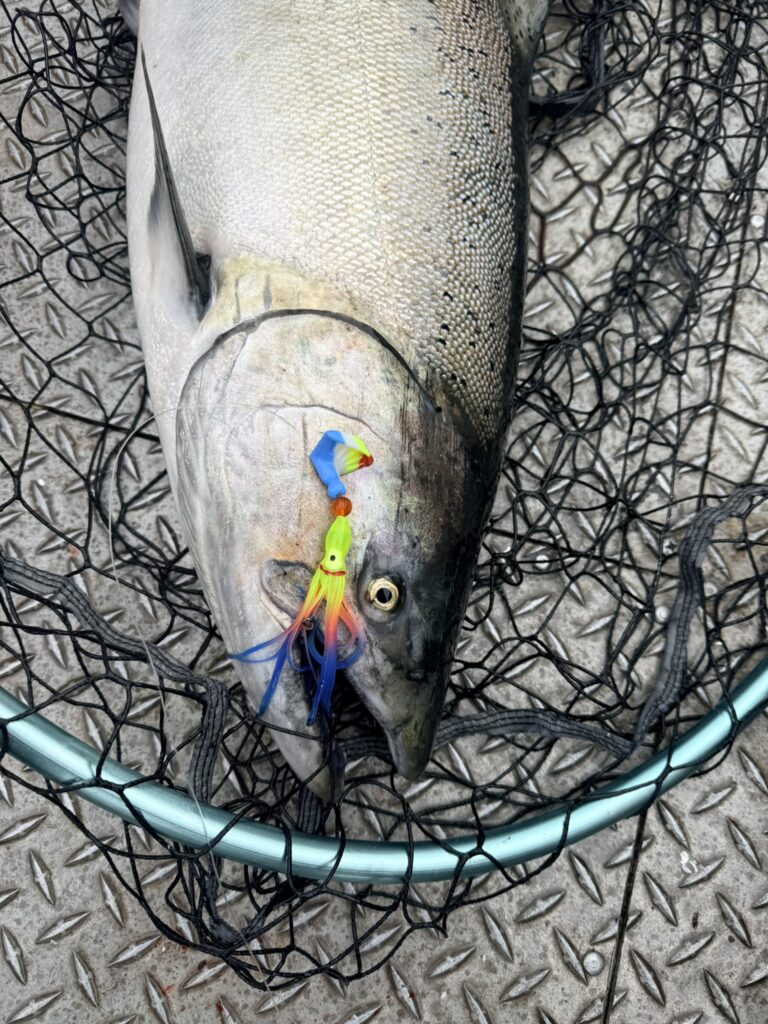
We decided to start at Long Beach that day with the rest of the fleet. The first lines went down and exactly 1 minute later it was fish on. This first fish ended up being a 12 lbs chinook caught on the same Twerk – “Hatsumi” from day 1 at 35 feet on line counter. We continued to fish that area and ended up getting the next 4 keeper coho and loosing several others. We used a size 3 Twerk – “Warren G” with a green hoochie, a size 3 Wacko Clinch “Rising Star” with a yellow / pink / blue hoochie and a size 2 Wacko “Earth and Moon” all behind 360 flashers. We ended our day catching a 20lbs chinook on the Wacko Clinch “Rising Star” setup.
Only 2 hours with our lines in the water and the 3 of us had caught our limits, going 6 for 12. We released a considerable amount of smaller sized feeder chinook and a few Tules. All-in-all it was a phenomenal opener for us and the Silent Pursuit Lure lineup. This weekend shows that it should be a epic year this August in the Columbia and for our new Twerk and Wacko lures.
Videos
Fishing With The Twerk
Fishing With The Wacko Clinch
Fishing With The Wacko
Photos
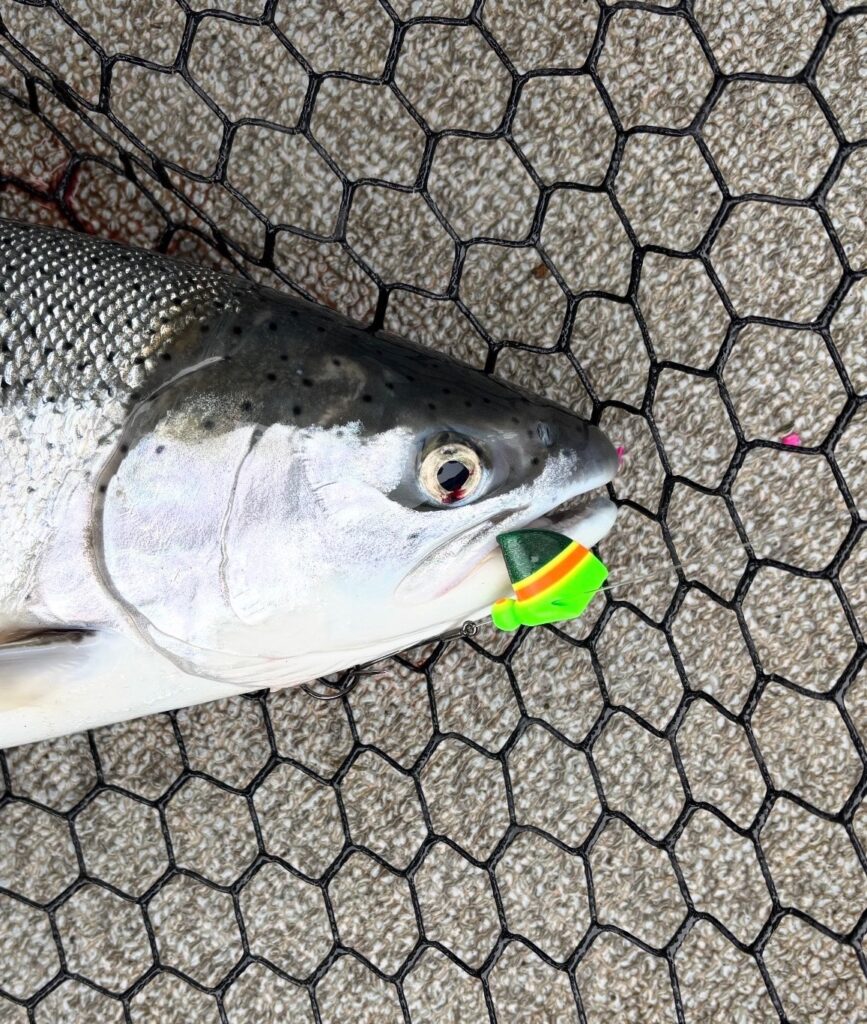
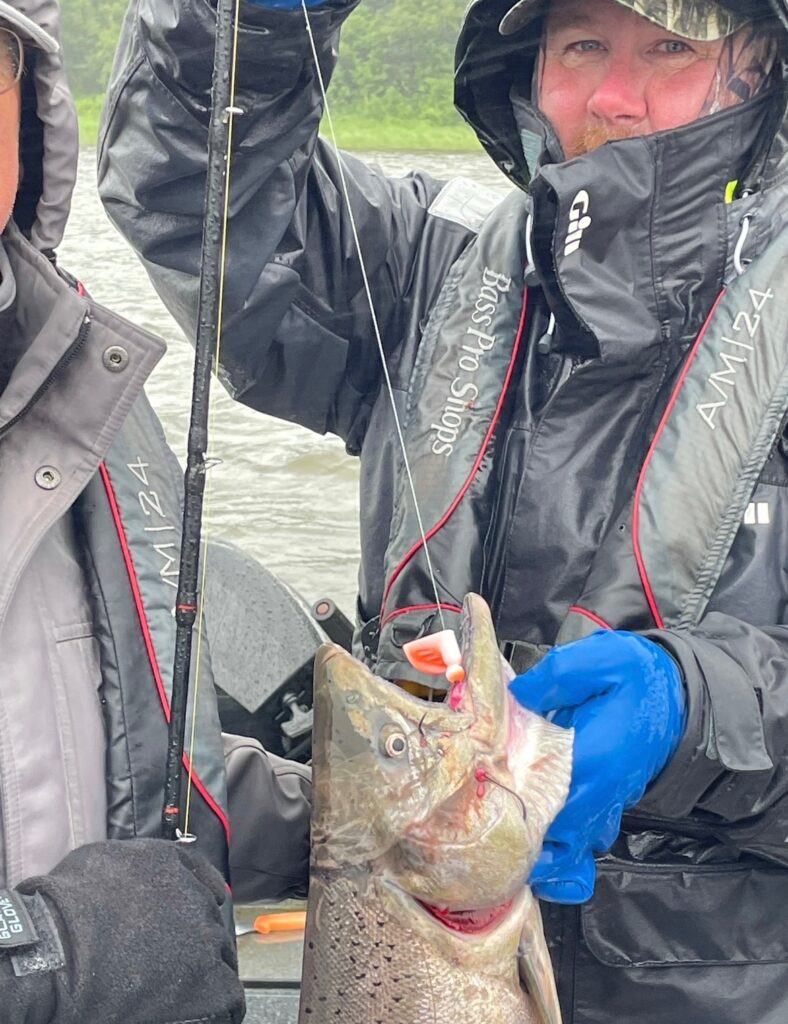
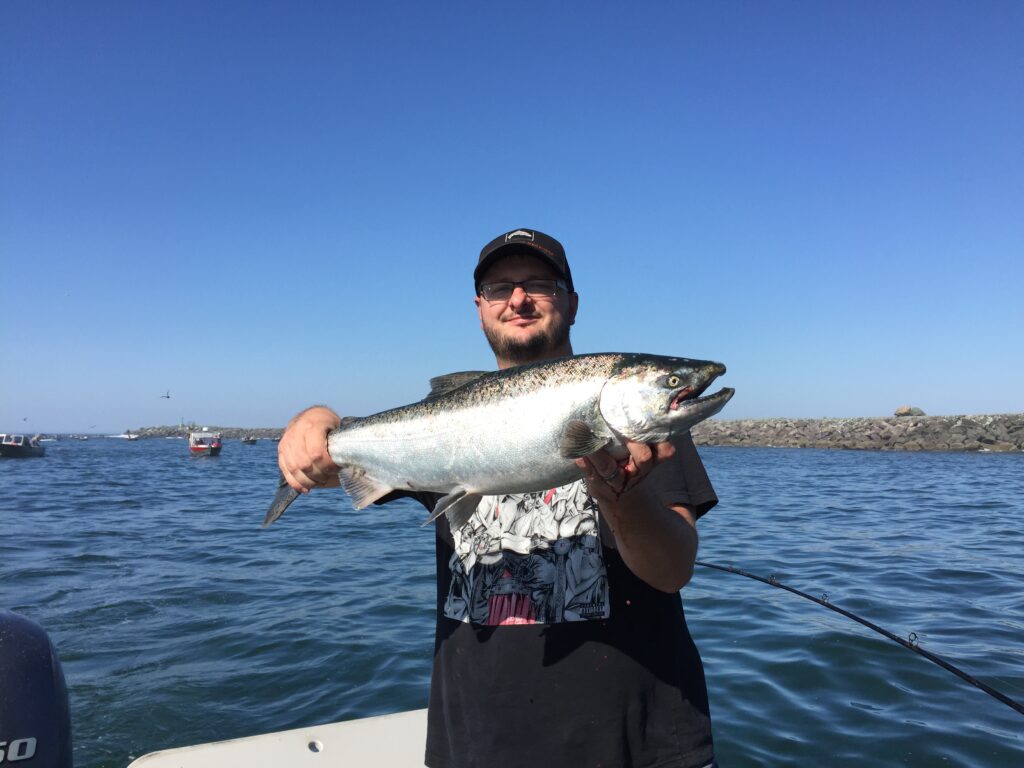
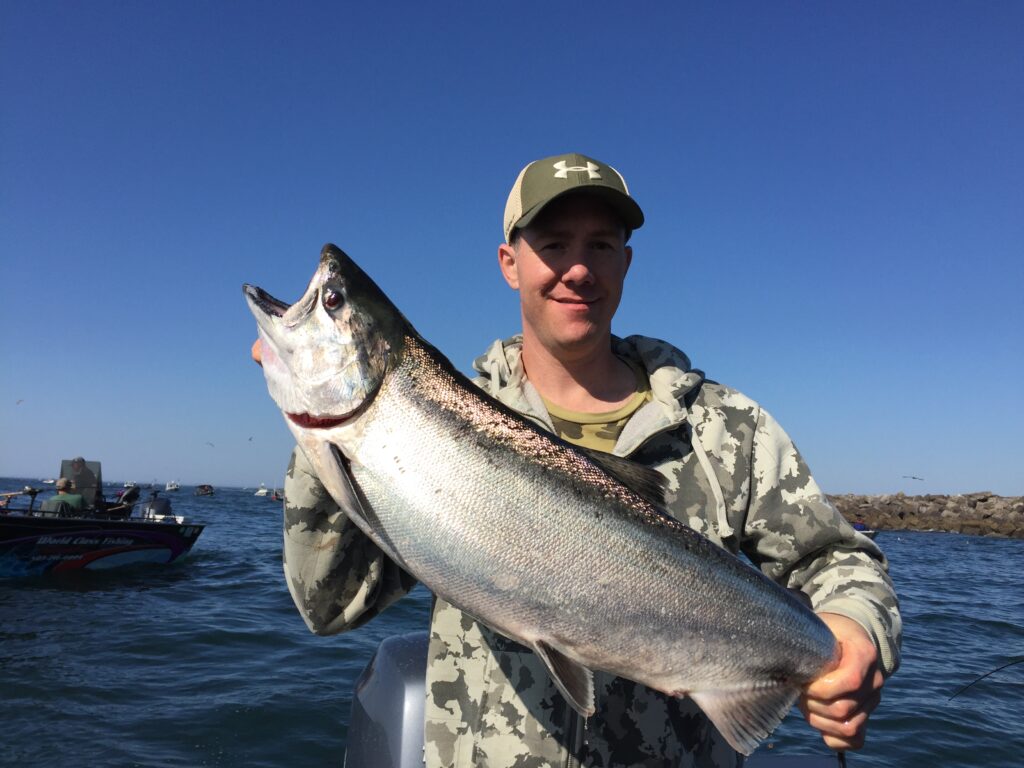
Prepare for your Buoy 10 Trip
Shop Wacko, Wacko Clinch and Twerk presentations for the 2026 season.
Shop Buoy 10 TackleFrequently Asked Questions
What size of Wacko or Wacko Clinch should I buy?
- Size 1 is the smallest and size 4 is the largest.
- Size 1 Wacko Clinch uses size 2-6 Trout hooks.
- Size 2 Wacko Clinch uses up to a 3/0 octopus hook.
- Size 3 Wacko Clinch uses 4/0 hooks to insert in the back of the lure.
- Size 4 Wacko Clinch uses 4/0-7/0 hooks.
- Size 4 is too big for 360 flashers.
What size Twerk should I buy?
- Size 1 is the smallest and size 4 is the largest.
- Use size 2 or 3 for 360 Flashers
What type of baits should I use?
- The Wacko Clinch is typically used with eggs or sandshrimp but it will spin anything
- Hoochies are one of the best options to run behind the Wacko or Twerk
Which products works best for 360 flashers?
- The Twerk size 2 and 3
- The Wacko and Wacko Clinch size 2 and 3
Where can I buy Silent Pursuit Lures?
- Currently here on our website is the best option
- We will be in your local tackle shop soon
- We will also be onsite at Buoy 10 for the 2026 season – call to pickup some gear : 971-801-5447
What type of fish can these products catch?
- All species of salmon have been caught on our products
- Trout can be caught on the smaller sizes
- Walleye have been caught using the Wacko
- Perch have been caught using the Wacko
How fast should I troll?
- This all depends on the tide, the direction you troll and the flasher you use
- Lower your gear shallow into the water to ensure the presentation is correct before dropping it down